


Ensuring your heating system is in top working condition as winter approaches is crucial. A malfunctioning heater can lead to uncomfortable living conditions and even health risks during cold weather. Fortunately, homeowners with DIY know-how can diagnose and repair many standard heating system issues.
This article provides a step-by-step guide to troubleshooting and fixing fundamental problems with your home heating system.
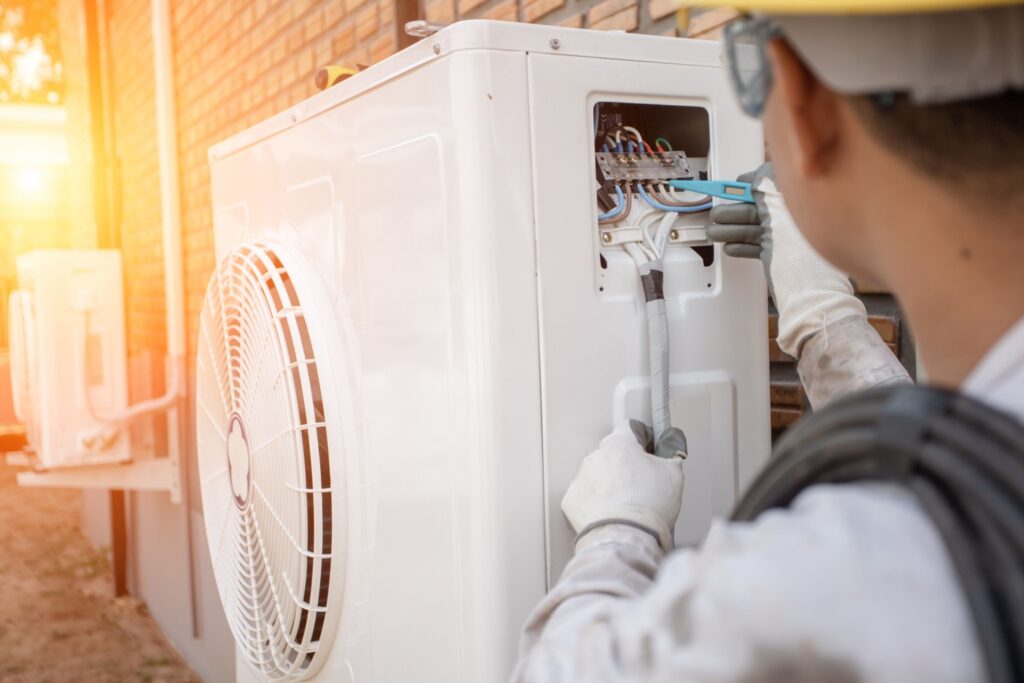
7 Steps to Repairing Your Heating System
Here are seven steps to diagnose a problem and repair your heating system.
Step 1: Identify the Type of Heating System
Before attempting any repairs, it’s essential to know the type of heating system you have. The most common types include forced air, radiant heat, and hydronic (hot water baseboard). Each system has specific components and mechanisms, which will dictate the troubleshooting and repair processes.
Step 2: Ensure Safety First
Safety should be your top priority. Before you begin any work on your heating system:
- Turn off the power to the unit at the breaker box to prevent any electrical hazards.
- If you smell gas or suspect a leak, stop immediately and call a professional.
Step 3: Check Common Problem Areas
For Forced Air Systems:
- Check the Thermostat: Ensure it is set to heat mode and the temperature setting is higher than the current room temperature. If it’s battery-operated, replace the batteries.
- Inspect the Furnace Filter: A clogged filter restricts airflow and diminishes heating efficiency. Replace or clean the filter if it’s dirty.
- Examine the Blower Motor: Ensure it is running. If not, check for blown fuses or tripped circuit breakers.
For Radiant Heat Systems:
Inspect Boiler Pressure: Low water pressure can affect system performance. Check the pressure gauge and refill the system if necessary.
- Look for Airlocks: Air in the pipes can prevent hot water from circulating properly. Bleed the radiators to remove trapped air.
For Hydronic Systems:
- Check the Boiler and Circulator Pump: Ensure the boiler fires up and the circulator pump runs. No heat could mean problems with one or both of these components.
Step 4: Reset the System
Sometimes, simply resetting the heating system can solve the problem. Please turn off the power to the system at the breaker, wait a few minutes, and then turn it back on. This can often reset the system’s internal circuitry and clear any minor errors.
Step 5: Diagnose with Error Codes
Many modern heating systems have built-in diagnostics that display error codes on the thermostat or the unit itself. To interpret these codes, which can provide specific clues for troubleshooting, refer to your owner’s manual.
Step 6: Perform Minor Repairs
Depending on your technical skills and the complexity of the issue, you may be able to perform minor repairs:
- Replace worn or faulty components such as thermostats, filters, or electrical fuses.
- Adjust or replace belts in a forced-air system if they appear worn or are squeaking.
- Lubricate moving parts if the system is noisy during operation.
Step 7: Call a Professional
If the above steps do not resolve the issue or if you encounter complex problems, such as issues with the heat exchanger, burner, or major electrical components, it’s best to call a professional. Heating systems can be complex; some repairs require specific tools and expertise.
Fix Your Heating System with Charlotte, NC’s Best Professionals
Regular maintenance and timely repairs ensure your heating system operates efficiently and safely. By following these steps, you can address many common issues and know when to call in the experts, such as A-Tech Repair.
If you have any questions about HVAC systems or queries about installations or repairs, contact A-Tech Appliance Repair, who will gladly assist.