Troubleshooting Tips: Why Is Your Freezer Making Weird Noises?

Is your freezer making weird noises?

Have you ever walked into your kitchen only to be greeted by strange noises from your freezer? While the occasional hum or buzz is usual, persistent or unusual sounds can be concerning.

Understanding the reasons of why is your freezer making weird noises can help you troubleshoot and, if necessary, decide when to call in the professionals.

6 Reasons Why Your Freezer is Making Weird Noises

Here are some common causes of weird freezer noises and how to address them.
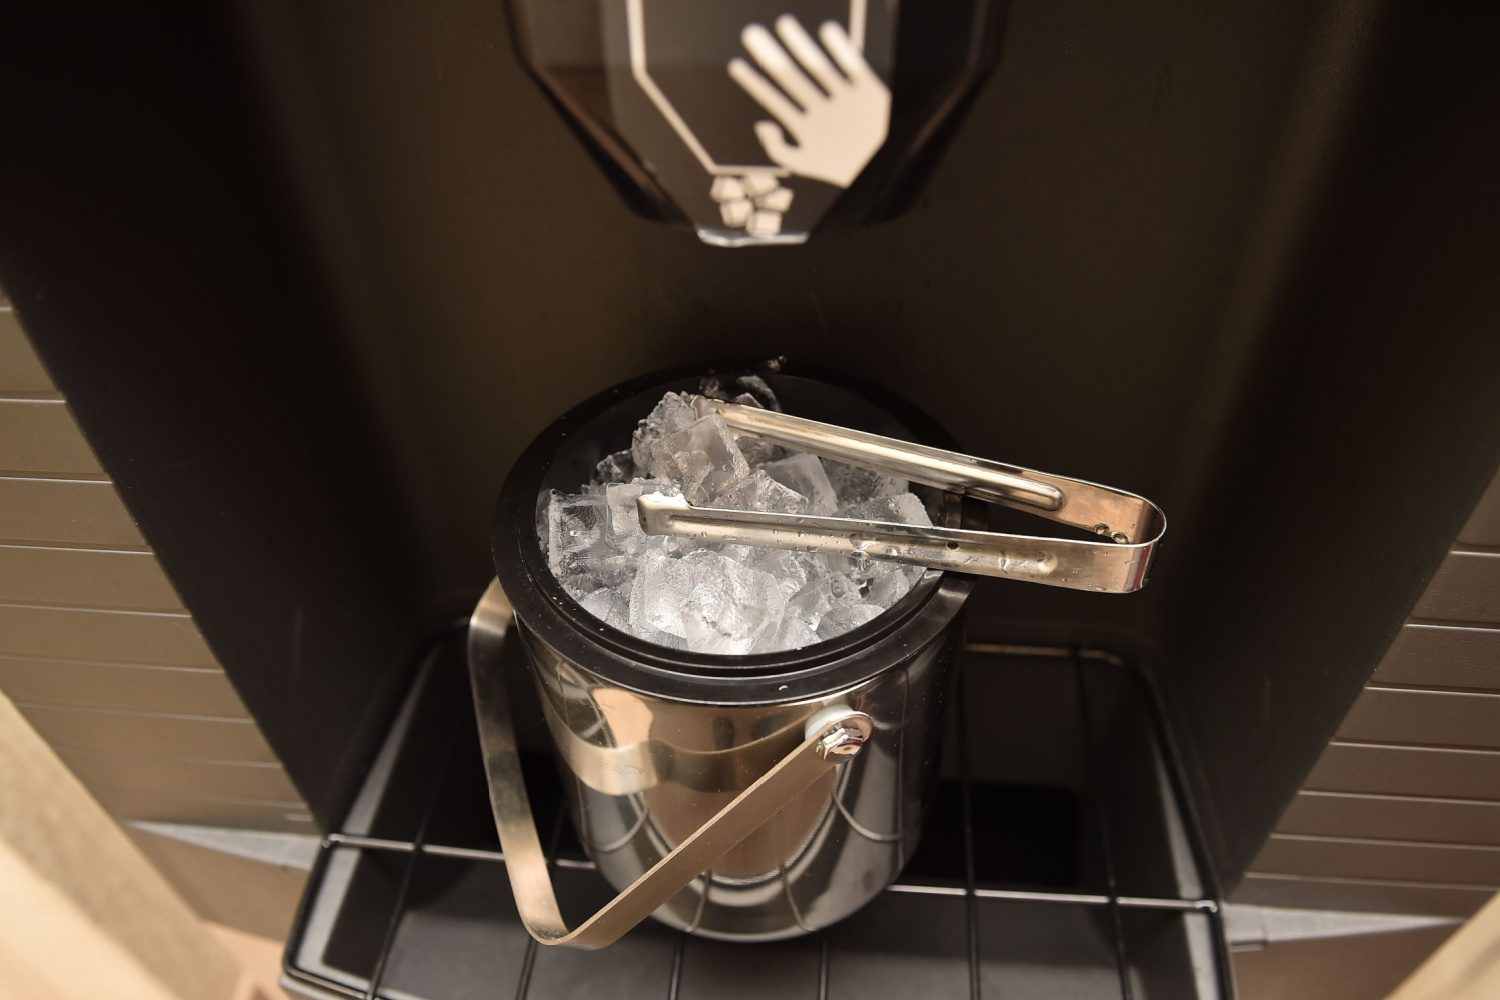
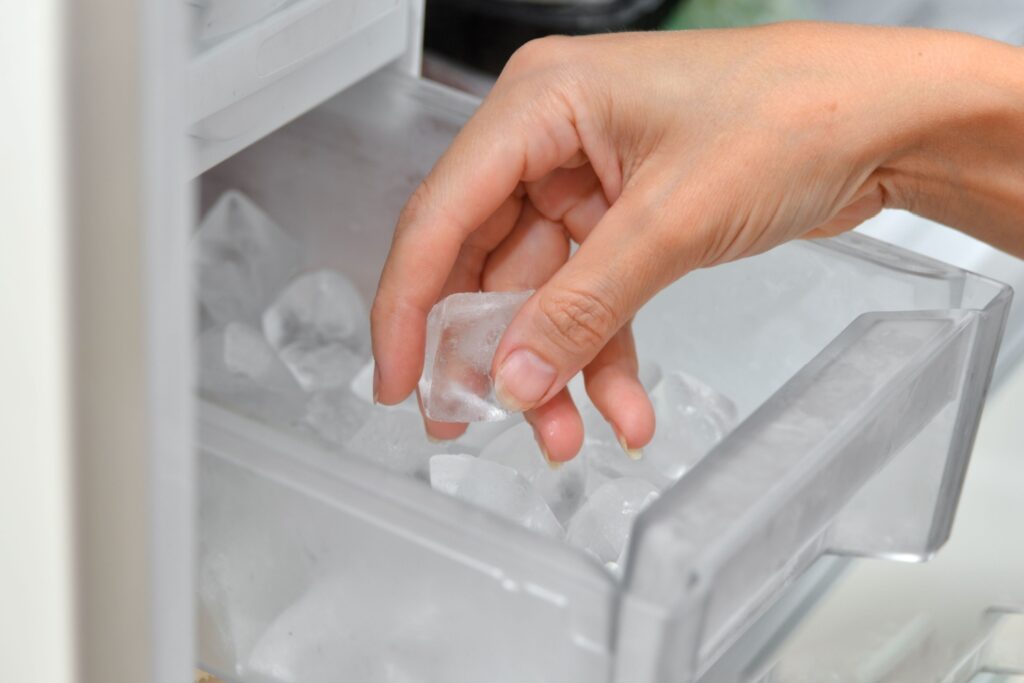
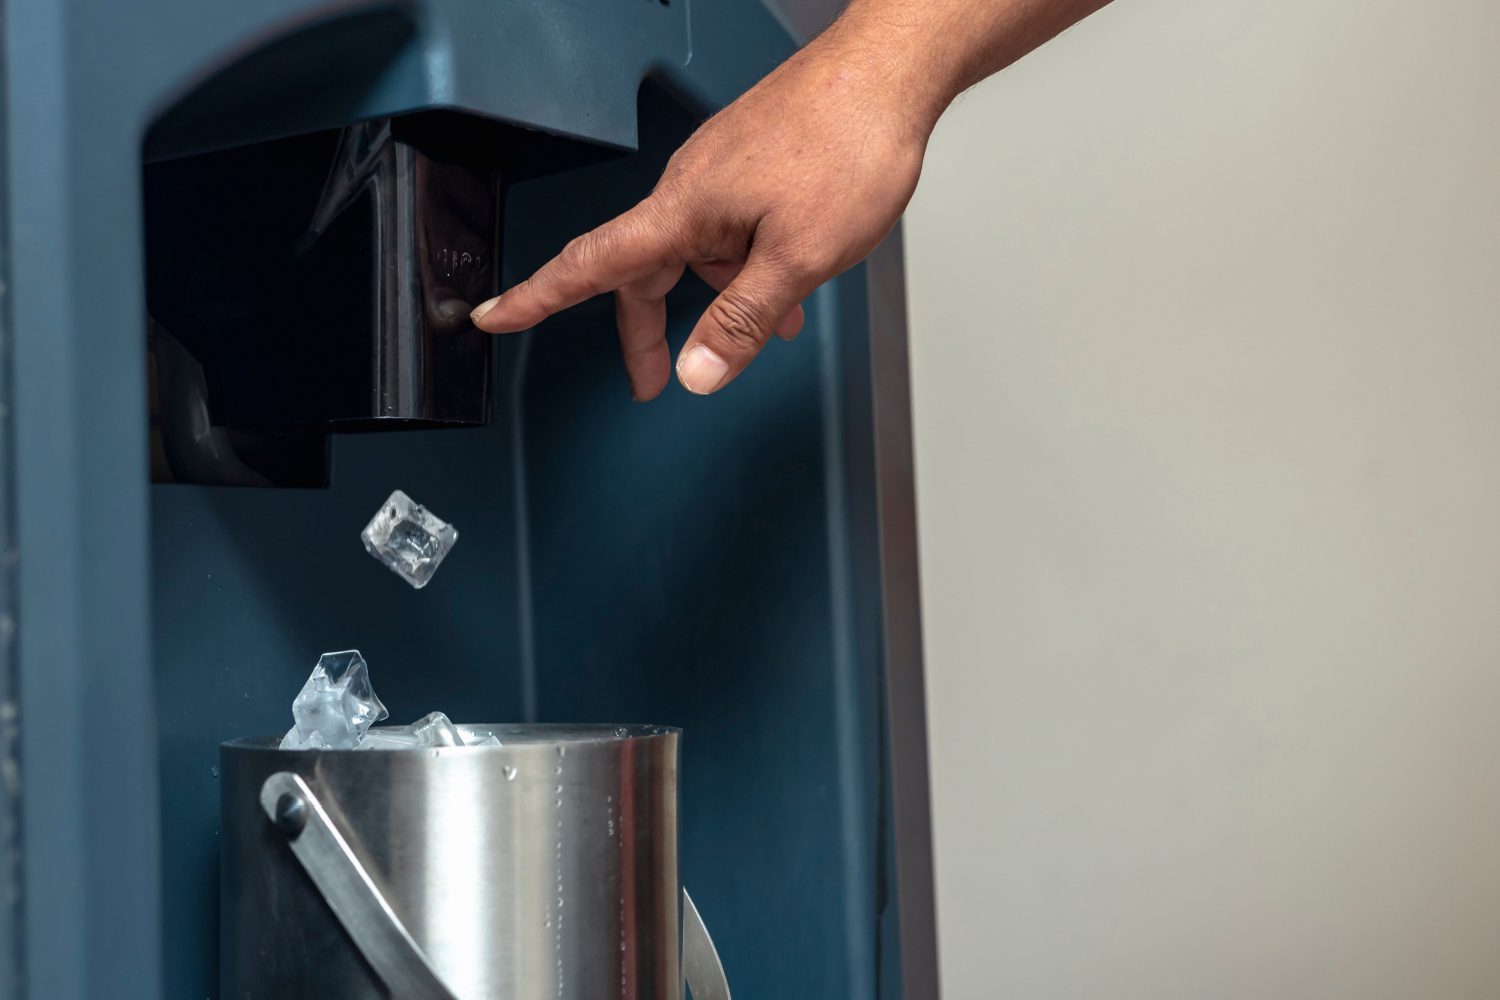
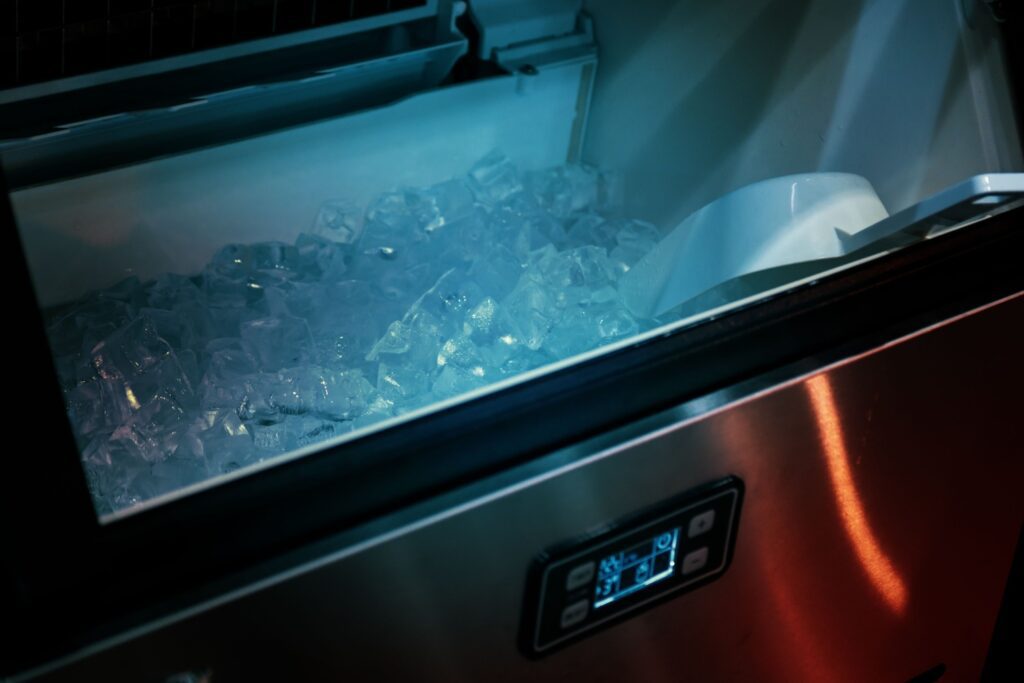
  1.     Ice Maker Issues

If your freezer is equipped with an ice maker, it’s often the prime suspect for strange noises. The sound of ice being made, falling into the bin, or the motor running can all create a range of noises.

However, a grinding or mechanical noise could indicate a problem with the ice maker’s motor or gears. To troubleshoot, inspect the ice maker for any visible blockages or damage.

If the problem persists, consider turning off the ice maker to see if the noise stops. If the problem persists, call professionals to get your freezer repaired

  1.     Defrost Cycle Sounds

Freezers periodically enter a defrost cycle to prevent ice build-up. You might hear popping, hissing, or sizzling sounds during this cycle.

These noises are typically standard and result from the melting ice dripping onto the defrost heater. However, if the sounds are excessively loud or prolonged, they might indicate an issue with the defrost timer or heater.

Checking the defrost components for signs of wear and tear can help identify if a replacement is necessary.
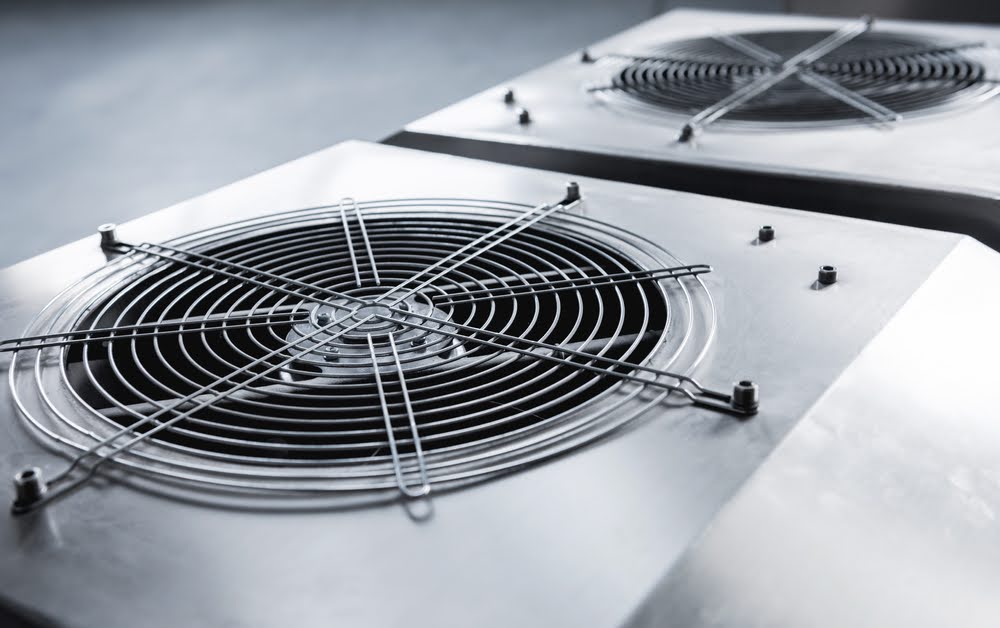
  1.     Fan Problems

Most freezers have at least one fan to circulate cold air. These fans can sometimes become noisy due to dirt build-up, ice accumulation, or mechanical issues.

A high-pitched squeal or a rattling noise often points to a fan problem. Cleaning the fan blades and checking for ice build-up can resolve these noises.

Replacing the fan might be the best solution if the fan appears damaged or worn out.
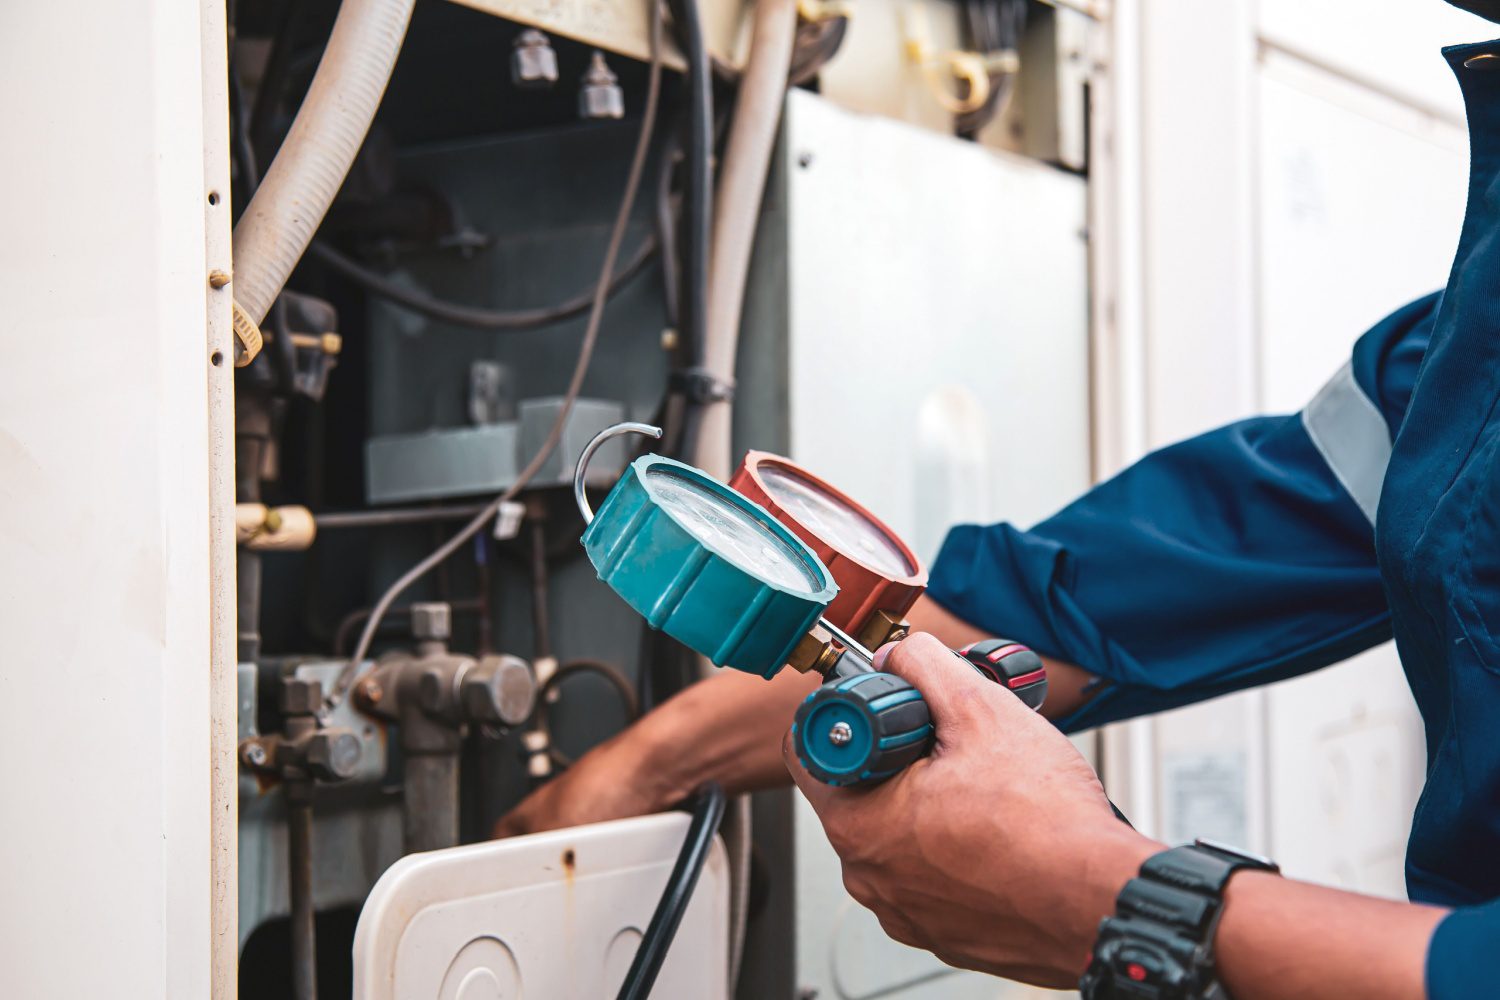
  1.     Compressor Concerns

The compressor is the heart of your freezer’s cooling system. When running, it’s normal for it to produce a low hum.

However, loud banging, clunking, or knocking noises can indicate a severe issue, such as a failing compressor or loose components. Given the complexity and cost of compressor repairs, it’s usually advisable to consult a professional if you suspect a compressor problem.

  1.     Vibration and Lose Parts

Sometimes, the noise source can be as simple as vibration or loose parts. For example, if your freezer is not level or in contact with cabinets or other appliances, it can create rattling or vibrating noises.

Checking that the freezer is on a stable surface and ensuring enough clearance on all sides can help minimize these sounds. Additionally, inspecting the interior and exterior for any loose screws or panels and tightening them can often silence annoying rattles.

  1.     Expanding and Contracting Materials

As your freezer cools and warms slightly during regular operation, the materials inside can expand and contract, creating clicking or popping sounds. These noises are typically harmless and part of regular operation.

However, if these sounds are unusually loud or frequent, it might be worth investigating to rule out other issues.

Why is your freezer making weird noises?

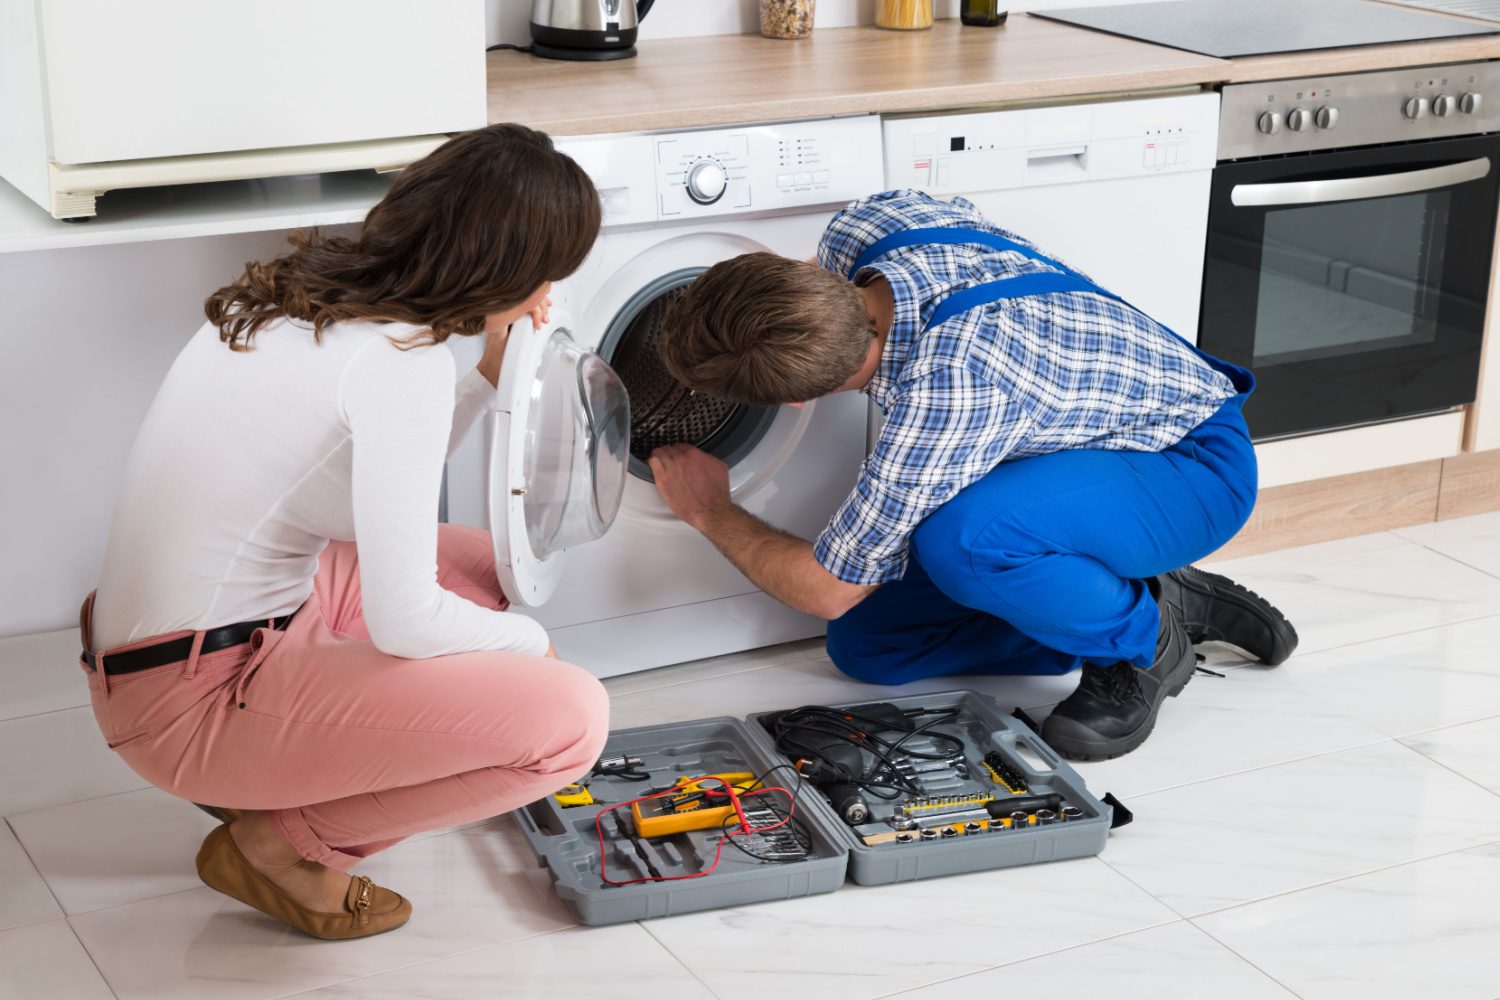
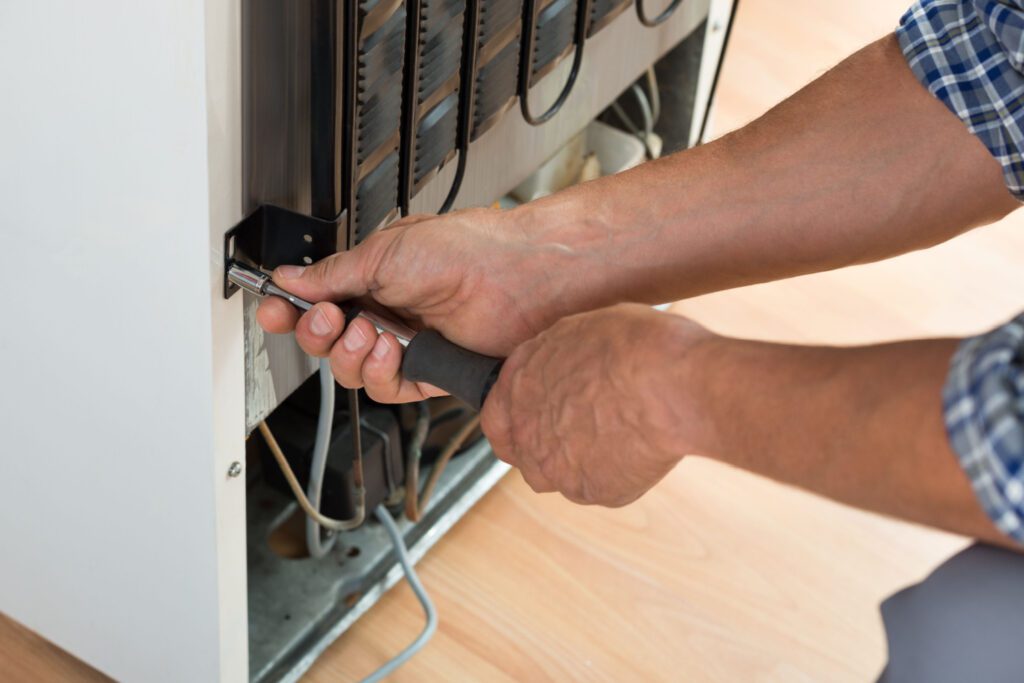
Get the Professionals on the Case

While some noises from your freezer are standard, others can indicate underlying problems that need attention. Regular maintenance can prevent many issues.

However, if you’ve tried troubleshooting and the noises persist, it might be time to seek professional help. A-Tech Repair is the expert to call for any weird freezer noises, ensuring your freezer runs smoothly and quietly. Contact us whenever you need assistance with appliances like this!

Loud Freezer Fan: What It Means and How to Silence It

Loud freezer fan.

A loud freezer fan can be more than just a minor annoyance; it could signal an underlying issue that needs attention. Whether it’s a persistent hum, a high-pitched squeal, or a rattling noise, understanding what these sounds mean and how to address them can help maintain your freezer’s efficiency and longevity.

Here’s a comprehensive guide on what a loud freezer fan might indicate and the steps you can take to silence it.

Understanding the Role of the Freezer Fan

Freezers typically have at least one fan inside the unit, often called the evaporator fan. This fan is crucial in circulating cold air throughout the freezer compartment, ensuring the temperature remains consistent and food stays frozen.

If the fan becomes noisy, it’s often a sign that something is amiss.

Common Causes of a Loud Freezer Fan

Here are the four leading causes of a loud freezer fan.

  • Dirt and Debris Build-Up

Over time, dust, dirt, and food particles can accumulate on the fan blades, causing them to become unbalanced and noisy. Regularly cleaning the fan and surrounding area can prevent this build-up and keep the fan running quietly.

  • Ice Accumulation

Ice build-up around the fan can impede movement, leading to loud grinding noises. A malfunctioning defrost system often causes this. Checking the defrost heater and timer and ensuring they function correctly can help prevent ice accumulation.

  • Worn-Out Bearings or Motor

A high-pitched squeal or screeching noise usually indicates that the fan’s motor or bearings are worn out. These components can deteriorate over time due to normal wear and tear. If you suspect this is the issue, it may be necessary to replace the fan motor.

  • Obstructions

Sometimes, items inside the freezer can obstruct the fan blades, causing them to make noise. Ensure that food packages are not blocking the airflow and that there is enough space around the fan to operate freely.

How to silence a loud freezer fan?

Steps to Silence a Loud Freezer Fan

Now, find the steps to get your freezer fan quiet below.

  1.     Unplug the Freezer

Before attempting any repairs or maintenance, always unplug the freezer to ensure safety.

  1.     Locate the Fan

Depending on your freezer model, the fan may be located at the back, top, or bottom of the freezer compartment. For the exact location, refer to your freezer’s manual.

  1.     Inspect and Clean

Carefully inspect the fan for dirt, ice, or obstructions. Use a soft brush or cloth to clean the fan blades and surrounding area.

If ice is present, allow it to melt naturally or use a hairdryer on a low setting to defrost the area gently.

  1.     Check the Motor and Bearings

If cleaning does not resolve the noise, check the motor and bearings for signs of wear. If you’re handy with tools, you can replace these components yourself.

However, it’s best to call a professional to get your freezer fixed if you’re unsure.

  1.     Reassemble and Test

After cleaning and inspecting the fan, reassemble any parts you removed and plug the freezer back in. Monitor the noise level to see if the problem has been resolved.

When to Call a Professional

If you’ve tried the above steps and the fan is still noisy, it might be time to seek professional help. Persistent noise could indicate a more severe issue that requires expert attention.

For residents of Charlotte, NC, A-Tech Repair is the go-to choice for solving freezer issues. Their team of skilled technicians can quickly diagnose and repair any problems, ensuring your freezer operates smoothly and quietly.

Don’t let a loud freezer fan disrupt your peace; contact A-Tech Repair for prompt and reliable service.

Step-by-Step Solutions on How to Repair Heating System

Repair heating system.

Ensuring your heating system is in top working condition as winter approaches is crucial. A malfunctioning heater can lead to uncomfortable living conditions and even health risks during cold weather. Fortunately, homeowners with DIY know-how can diagnose and repair many standard heating system issues.

This article provides a step-by-step guide to troubleshooting and fixing fundamental problems with your home heating system.

7 Steps to Repairing Your Heating System

Here are seven steps to diagnose a problem and repair your heating system.

Step 1: Identify the Type of Heating System

Before attempting any repairs, it’s essential to know the type of heating system you have. The most common types include forced air, radiant heat, and hydronic (hot water baseboard). Each system has specific components and mechanisms, which will dictate the troubleshooting and repair processes.

Step 2: Ensure Safety First

Safety should be your top priority. Before you begin any work on your heating system:

  • Turn off the power to the unit at the breaker box to prevent any electrical hazards.
  • If you smell gas or suspect a leak, stop immediately and call a professional.

Step 3: Check Common Problem Areas

For Forced Air Systems:

  • Check the Thermostat: Ensure it is set to heat mode and the temperature setting is higher than the current room temperature. If it’s battery-operated, replace the batteries.
  • Inspect the Furnace Filter: A clogged filter restricts airflow and diminishes heating efficiency. Replace or clean the filter if it’s dirty.
  • Examine the Blower Motor: Ensure it is running. If not, check for blown fuses or tripped circuit breakers.

For Radiant Heat Systems:

Inspect Boiler Pressure: Low water pressure can affect system performance. Check the pressure gauge and refill the system if necessary.

  • Look for Airlocks: Air in the pipes can prevent hot water from circulating properly. Bleed the radiators to remove trapped air.

For Hydronic Systems:

  • Check the Boiler and Circulator Pump: Ensure the boiler fires up and the circulator pump runs. No heat could mean problems with one or both of these components.

 Step 4: Reset the System

Sometimes, simply resetting the heating system can solve the problem. Please turn off the power to the system at the breaker, wait a few minutes, and then turn it back on. This can often reset the system’s internal circuitry and clear any minor errors.

Step 5: Diagnose with Error Codes

Many modern heating systems have built-in diagnostics that display error codes on the thermostat or the unit itself. To interpret these codes, which can provide specific clues for troubleshooting, refer to your owner’s manual.

Step 6: Perform Minor Repairs

Depending on your technical skills and the complexity of the issue, you may be able to perform minor repairs:

  • Replace worn or faulty components such as thermostats, filters, or electrical fuses.
  • Adjust or replace belts in a forced-air system if they appear worn or are squeaking.
  • Lubricate moving parts if the system is noisy during operation.

Step 7: Call a Professional

If the above steps do not resolve the issue or if you encounter complex problems, such as issues with the heat exchanger, burner, or major electrical components, it’s best to call a professional. Heating systems can be complex; some repairs require specific tools and expertise.

How to repair heating system.

Fix Your Heating System with Charlotte, NC’s Best Professionals

Regular maintenance and timely repairs ensure your heating system operates efficiently and safely. By following these steps, you can address many common issues and know when to call in the experts, such as A-Tech Repair.

If you have any questions about HVAC systems or queries about installations or repairs, contact A-Tech Appliance Repair, who will gladly assist.

Stove vs Oven: Decoding Sustainability and Ease of Use

Stove vs oven.

Stoves and ovens are essential appliances in the modern kitchen, each playing pivotal roles in daily cooking routines. However, regarding sustainability and ease of use, some distinct differences and considerations influence your choice of one over the other. 

Understanding these differences is crucial whether you’re fitting out a new kitchen or thinking about energy efficiency and practicality in meal preparation. This article will explore the sustainability and ease of use of stoves and ovens, helping you to make an informed decision for your culinary needs.

Stove vs Oven: Energy Efficiency and Sustainability

Here are the core differences between stoves vs ovens regarding energy efficiency and sustainability.

Stoves

Gas or electric stoves offer direct heat and are commonly used for boiling, frying, and sautéing. Gas stoves are preferred for their control and instant heat, but from a sustainability perspective, they pose some challenges. 

They burn natural gas, a fossil fuel, releasing carbon dioxide and other pollutants into the environment. On the other hand, electric stoves, especially those with induction technology, are more sustainable. 

Induction stoves are highly efficient, as they reduce heat loss by directly heating the cookware via an electromagnetic field, making them a greener choice. 

Ovens

Ovens are typically used for baking, roasting, and broiling and are generally more energy-intensive due to the need to heat an ample enclosed space. Conventional electric ovens are less energy-efficient than stoves because they require preheating and longer cooking times. 

However, advances such as convection technology have improved their energy efficiency. Convection ovens use fans to circulate hot air, cooking food more evenly and quickly, thus reducing energy consumption. 

Moreover, newer models often feature improved insulation and energy-saving settings that minimize heat loss and power usage.

Stoves vs ovens.

Stove vs Oven: Ease of Use

Let’s review the differences in ease of use between stoves and ovens.

Stoves

Stoves are often seen as more user-friendly because of their versatility and speed. They heat up and cool down quickly, particularly gas stoves, allowing for precise heat control, crucial for tasks like searing meat or simmering sauces. 

The stovetop’s layout also makes it easy to manage multiple pots and pans simultaneously, which is ideal for dishes that require attentive cooking and immediate heat adjustments.

Ovens

While ovens may not offer the same level of immediacy in heat adjustment as stoves, they excel in hands-off cooking. Once the temperature is set and the timer is on, the oven works for you, which is particularly advantageous for busy cooks. 

This allows for multitasking in the kitchen without constantly monitoring the cooking process. However, the initial setup and wait times for preheating can be considered a minor inconvenience compared to the instant heating capabilities of stoves.

Stove vs Oven: Deciding Factors

Choosing between a stove and an oven or finding the right balance depends mainly on your cooking style, kitchen space, and energy efficiency goals. An induction stove paired with a convection oven could offer energy efficiency and convenience for those looking to reduce their carbon footprint. 

Additionally, consider how the ease of use aligns with your cooking habits; if you prefer quick, attentive cooking, a stove might be preferable, but for those who appreciate the ability to “set and forget,” an oven can be incredibly beneficial.

Choose a Charlotte, NC Premier Appliance Company for Installation or Repairs

Both stoves and ovens have merits and drawbacks concerning sustainability and ease of use. By understanding these aspects, you can better align your kitchen appliances with your environmental values and cooking preferences, ensuring a more efficient and enjoyable culinary experience. You can learn more about what suits you with A-Tech Repair and get expert installation or repairs with a stove or oven.

If you have any questions about HVAC systems or queries about installations or repairs, contact A-Tech Appliance Repair, who will gladly assist.

How to Clean Ice Maker in Freezer with Ease & When to Seek Help?

How to clean ice maker in freezer?

Maintaining a clean ice maker is essential for ensuring the quality and safety of the ice produced. If not cleaned regularly, ice makers can accumulate minerals from water, leading to blockages and mold and bacteria growth.

Fortunately, cleaning an ice maker in your freezer is often straightforward. However, it’s also important to recognize when professional help might be necessary. Here’s a comprehensive guide on how to clean ice maker in freezer and when to seek assistance.

Step-by-Step Guide to Cleaning Your Ice Maker

Here’s how to clean your ice maker in five easy steps.

  1.     Turn Off the Ice Maker

Before you begin cleaning, make sure to turn off the ice maker. Most units will have a power switch, which can be turned off by lifting the metal arm or pressing a button.

Additionally, consider turning off the water supply to the ice maker to prevent any accidental water flow during the cleaning process.

  1.     Remove the Ice Bin

Empty any ice from the bin and remove the trunk itself. Use warm, soapy water to clean the container thoroughly. Rinse it well to ensure no soap residue is left behind, as this could transfer to your ice.

Allow the chest to air dry completely before reinserting it into the freezer.

  1.     Wipe Down the Ice Maker

Wipe down the ice maker’s interior surfaces using a soft cloth or sponge and mild detergent with warm water. Be sure to clean any accessible parts, including the ice mold and the mechanism that ejects the ice.

Avoid harsh chemicals or abrasive cleaners that could damage the ice maker or contaminate your ice.

  1.     Use a Vinegar Solution for Mineral Deposits

If you notice mineral deposits (often white and chalky), prepare a solution of equal parts white vinegar and water. Use this solution to clean the affected areas gently. The vinegar’s acidity helps dissolve the minerals.

After washing with the vinegar solution, rinse the area thoroughly with clean water.

  1.     Dry and Reassemble

After cleaning, dry all surfaces with a clean towel or let them air dry completely. Once dry, reassemble any parts you removed, replace the ice bin, and turn the ice maker and water supply back on.

Do you know how to clean ice maker in freezer with ease?

When to Seek Professional Help

While routine cleaning can be done at home, there are situations when it’s best to seek professional help:

  • Persistent Issues – If you’ve cleaned your ice maker but are still experiencing strange-tasting ice, insufficient ice production, or leaks, a more complex problem could require a technician’s expertise.
  • Electrical Problems – If your ice maker shows signs of electrical issues, like not turning on or erratic behavior, it’s safer to consult a professional. Electrical repairs can be dangerous and are best handled by qualified technicians.
  • Water Line Problems – If you suspect the issue might be related to the water line (e.g., blockages or leaks), a professional plumber or appliance repair technician can diagnose and resolve these problems effectively.

Regularly cleaning your ice maker ensures it operates efficiently and produces clean, safe ice. Most maintenance and minor cleaning tasks can be performed at home with basic supplies.

However, recognizing when to call a professional can save you time and prevent further damage to your appliance. A-Tech Repair has expert engineers who can help you overcome the more complex challenges of cleaning and fixing your ice machine.

If you have any questions about HVAC systems or queries about installations or repairs, contact A-Tech Appliance Repair, who will gladly assist.

Unveiling the Expert’s Secrets on How to Fix an Ice Machine

How to fix an ice machine?

Ice machines are indispensable in various settings, from restaurants and cafes to office break rooms and households. They provide the convenience of ice on demand, which is essential for beverages and culinary preparations. 

However, like any frequently used appliance, ice machines can encounter issues affecting performance and output. Fixing an ice machine might seem daunting, but with the proper knowledge and tools, you can troubleshoot common problems. 

Here, we unveil expert secrets on how to fix an ice machine, ensuring your appliance runs smoothly and efficiently.


5 Expert’s Secrets on Fixing Ice Machines

We’ve got professional trade tips on how to get your ice machines run smoothly again.


  1.     Understanding the Basics

Before attempting any repairs, familiarize yourself with your ice machine’s essential operation and components. Most ice machines fill a freezing tray with water, freeze it into ice, and then release it into a storage bin. 

The water inlet valve, evaporator, thermostat, and ice mold are vital components. Identifying these parts will help you diagnose issues more accurately.


  1.     Regular Cleaning and Maintenance

Regular cleaning and maintenance is one of the most crucial yet often overlooked aspects of keeping an ice machine in top condition. Mineral buildup from hard water can clog water filters and lines, affecting ice quality and production. 

Experts recommend cleaning your ice machine every six months with a nickel-safe cleaner and sanitizer to remove scale and microbial growth. Always refer to the manufacturer’s instructions for the recommended cleaning procedure.


  1.     Troubleshooting Common Issues

Let’s look at the common issues behind non-functioning ice machines.


  • No Ice Production

If your ice machine stops producing ice, check if it receives power and the water supply is on. Next, inspect the water inlet valve for blockages or malfunction; a defective valve can prevent water from entering the ice mold. 

Additionally, a faulty thermostat might not trigger the freezing cycle, necessitating a replacement.

  • Poor Ice Quality

Cloudy, minor, or oddly shaped ice can indicate water filtration or flow issues. Replace water filters regularly to ensure clean, clear ice. 

Also, check the water inlet valve and lines for any restrictions limiting water flow to the ice mold.

  • Ice Not Ejecting

If ice forms but does not eject into the bin, the issue might be with the heating element that warms the bottom of the ice mold, allowing the ice to release. A malfunctioning heating element or control module that doesn’t activate the heating cycle will require replacement.


  1.     Electrical Component Care

When working with electrical components like thermostats, heating elements, or control modules, ensure the power is completely off before starting any repairs. Use a multimeter to test electrical parts for continuity. 

If you’re unfamiliar with handling electrical components, consult a professional to avoid injury or further damage to the machine.


  1.     Seek Professional Help When Necessary

While many ice machine issues can be resolved with basic troubleshooting, some problems require expert attention. Complex cases involving refrigerant levels or sealed system repairs are best left to certified technicians with the tools and training to handle these tasks safely and effectively.

Exploring secrets on how to fix an ice machine.

Professionals Are on Standby to Help with Your Ice Machines

Fixing an ice machine involves identifying the root cause of the problem, regular maintenance, and, sometimes, replacing faulty components. By following these expert secrets, you can extend the life of your ice machine and ensure it continues to produce high-quality ice. 

However, remember that when in doubt, consulting with professionals such as A-Tech Repair is the safest and most effective way to address complex issues.

If you have any questions about HVAC systems or queries about installations or repairs, contact A-Tech Appliance Repair, who will gladly assist.


How to Repair Appliances [Everything You Need to Know]

A man and woman looking at the inside of an oven.

In an era where home appliances have become essential components of our daily lives, the ability to perform basic repairs can save time, money, and the inconvenience of living without these necessities. Knowing how to repair appliances is a valuable skill, whether it’s a leaking refrigerator, a noisy washing machine, or a microwave that won’t heat. 

 This comprehensive guide will cover everything you need to learn about appliance repair, from identifying the problem to executing the fix.

Understanding the Basics of Appliance Repair

Before diving into repairs, it’s crucial to understand the basics of how appliances work. Most devices have similar components, such as motors, power supplies, and electronic controls. 

Familiarizing yourself with these components can help you diagnose issues more accurately. Always refer to the appliance’s manual for guidance, as it contains essential information about parts, functions, and safety precautions.

But here’s what you should know about how to repair appliances:

  1.     Safety First

Safety should be your top priority when attempting to repair any appliance. Always unplug the appliance or turn off the power at the circuit breaker before starting any repair work. Be aware of sharp edges and moving parts to avoid injury. 

If you’re dealing with gas appliances, it’s best to call a professional due to the risk of gas leaks and explosions.

  1.     Diagnosing the Problem

The first step in repairing an appliance is accurately diagnosing the issue. Start by observing the symptoms and consulting the troubleshooting section of the appliance’s manual. 

Online forums, videos, and manufacturer websites can also be valuable resources for identifying common problems and solutions.

  1.     Gathering Tools and Parts

Once you’ve diagnosed the problem, gather the necessary tools and replacement parts for the repair. Standard tools for appliance repair include screwdrivers, pliers, a multimeter for testing electrical components, and specialty tools specific to the appliance—purchase replacement parts from reputable suppliers or manufacturers to ensure compatibility.

  1.     The Repair Process

Begin the repair process by carefully disassembling the appliance to access the faulty component. Take photos or notes during disassembly to ensure you can reassemble the device correctly. Inspect the defective part and compare it with the new one to confirm it’s the correct replacement.

Replace the faulty component carefully, following the manufacturer’s instructions or guidance from reliable repair tutorials. Once the new part is installed, reassemble the appliance, ensuring all connections are secure and components are correctly aligned.

  1.     Testing and Maintenance

After completing the repair, plug in the appliance and test it to ensure it’s working correctly. Monitor the device during its first few cycles to verify the issue has been resolved. 

Regular maintenance, such as cleaning filters, checking hoses, and inspecting seals, can prevent future problems and extend the life of your appliances.

  1.     Knowing When to Call a Professional

While many appliance issues can be fixed with essential tools and a little know-how, some repairs require professional expertise. Suppose you encounter complex electrical problems, refrigerant issues, or anything beyond your comfort level. In that case, it’s wise to call a certified technician. 

Attempting repairs beyond your skill set can be dangerous and may cause further damage to the appliance.

A man working on the bottom of an oven.

HVAC Services in Charlotte, NC, for When You’re Not Sure

Repairing appliances can be a rewarding endeavor that saves money and extends the life of your household devices. By understanding the basics, prioritizing safety, accurately diagnosing issues, and following precise repair procedures, you can tackle many common appliance problems. 

Remember, when in doubt, consulting a professional is the best course of action to ensure the safety and functionality of your home appliances. A-Tech Repair has a knowledgeable team of engineers who can fix your issue should you hit a roadblock in repair.

If you have any questions about HVAC systems or queries about installations or repairs, contact A-Tech Appliance Repair, who will gladly assist.

Navigating the Average Lifespan of Appliances [Prolonging the Performance of Your Appliances]

A group of appliances sitting on top of a wooden floor.

In the modern household, appliances play a crucial role in daily life, streamlining tasks and providing comfort and convenience. Understanding the average lifespan of appliances and taking steps to prolong their performance can save homeowners significant time and money.


This comprehensive guide explores the typical longevity of various household appliances and provides essential tips for extending their useful life.


Average Lifespan of Key Appliances

The lifespan of home appliances varies depending on the type, brand, usage patterns, and maintenance practices. Here’s a general overview:

  • Refrigerators – 10-15 years. Models with fewer features tend to last longer due to reduced mechanical stress.
  • Dishwashers – 9-12 years. Regular cleaning and filter maintenance can extend their life.
  • Washing Machines – 10-13 years. Front-loading washers might have a slightly shorter lifespan due to the demands of the high-speed spin cycle.
  • Dryers – 10-13 years. Keeping the lint trap and vents clean can significantly affect longevity.
  • Microwave Ovens – 7-10 years. Their lifespan largely depends on the frequency of use.
  • Gas Ranges – 12-15 years, which can be longer than electric ranges due to fewer electrical components.
  • Electric or Gas Ovens – 13-15 years. Regular cleaning and element checks help maintain efficiency.
  • Freezers – 10-15 years. Manual defrost models may last longer than their frost-free counterparts.
A man and woman looking at the dishwasher.

Prolonging Appliance Lifespan

Here’s how to get the most extended life from your household appliances.


  1.     Regular Maintenance

The key to extending the lifespan of your appliances lies in regular maintenance. It includes cleaning filters, checking hoses and connections for wear, and protecting ventilation areas from dust and debris.

For example, cleaning your refrigerator’s coils can improve efficiency and prevent overheating, significantly extending its operational life.

  1.     Proper Use

Using appliances according to the manufacturer’s instructions is crucial. Overloading washing machines or dishwashers can cause undue stress on motors and belts, leading to premature failure.

Similarly, avoiding the use of metal objects in microwaves can prevent damage to the interior.

  1.     Energy Efficiency

Opting for energy-efficient models not only reduces utility bills but can also extend appliance lifespan. Energy-efficient appliances often run more relaxed and have less mechanical stress, contributing to extended operational periods.

  1.     Timely Repairs

Addressing minor issues can prevent them from escalating into major problems. Ignoring strange noises, leaks, or performance drops can lead to more significant damage and reduce the appliance’s lifespan.

  1.     Professional Servicing

While regular homeowner maintenance is vital, professional servicing is crucial in appliance longevity. Experts can diagnose and repair issues that may not be evident to the average user, ensuring that appliances operate efficiently and safely.

  1.     Upgrade When Necessary

Despite the best maintenance efforts, there comes a time when upgrading to a new appliance is more cost-effective than repairing an old one. Modern devices have improved technology and efficiency, providing better performance and energy savings.


Repair Services in Charlotte, NC, to Get the Longest Life Appliances

Household appliance lifespans vary, but proactive maintenance and proper use can significantly extend their operational life. By understanding the average lifespan of these appliances and implementing strategies to prolong their performance, homeowners can enjoy the benefits of their investments for years to come.

Regular maintenance, energy efficiency, timely repairs, and professional servicing are vital to navigating the lifespan of household appliances and ensuring their continued performance and reliability. A-Tech Repair is dedicated to getting a long life out of your home appliances.

If you have any questions about HVAC systems or queries about installations or repairs, contact A-Tech Appliance Repair, who will gladly assist.

The Hidden Culprits: How to Prevent Appliance Breakdowns with Regular Checks

A person is working on an air conditioner.

Modern life heavily relies on household appliances, making them indispensable in daily routines. These appliances are crucial for comfort and convenience, from refrigerators and washing machines to ovens and air conditioners.

However, the convenience they provide can be easily disrupted when these appliances break down unexpectedly. The key to avoiding such disruptions lies in proactive maintenance through regular checks.

Identifying the Hidden Culprits in Appliance Breakdowns

Appliance breakdowns are often caused by factors that go unnoticed until it’s too late. Understanding the hidden culprits behind these malfunctions is the first step in preventing them.


Some common issues include:

  • Dust and Dirt Accumulation

Appliances like refrigerators and air conditioners have coils and filters that can accumulate dust and dirt over time. This build-up can lead to decreased efficiency and, ultimately, system failure.

  • Clogged Vents and Ducts

Dryers, range hoods, and HVAC systems rely on proper airflow. Clogged vents and ducts can strain the system, causing overheating and potential breakdowns.

  • Lack of Lubrication

Moving parts in appliances, such as motors and fans, require proper lubrication. Over time, the lack of lubrication can lead to increased friction, overheating, and mechanical failures.

  • Water Leaks

Appliances that use water, like dishwashers and washing machines, can develop leaks. Unnoticed leaks can lead to water damage, electrical issues, and corrosion.

  • Faulty Wiring

Electrical appliances are susceptible to wiring issues. Frayed or damaged wires can pose a severe safety hazard and may lead to appliance failure.

A person is holding some wires in front of an appliance.

Preventing Appliance Breakdowns with Regular Checks

Now that we’ve identified some common hidden culprits let’s explore how regular checks can prevent appliance breakdowns:

  1.     Clean Coils and Filters

Regularly clean the coils and filters of appliances like refrigerators and air conditioners to ensure optimal performance. This simple task can improve efficiency and extend the lifespan of the device.

  1.     Clear Vents and Ducts

Periodically inspect and clean vents and ducts in appliances like dryers and range hoods. This helps maintain proper airflow, preventing overheating and potential breakdowns.

  1.     Lubricate Moving Parts

Refer to the appliance’s manual for guidelines on lubricating moving parts. Regular lubricant application to motors and fans can reduce friction, ensuring smooth operation and preventing mechanical failures.

  1.     Check for Water Leaks

Inspect water-using appliances for leaks. Address leaks promptly to prevent water damage, electrical issues, and corrosion. Regularly check hoses and connections for signs of wear or damage.

  1.     Inspect Wiring

Conduct routine checks on the wiring of electrical appliances. Look for any frayed or damaged wires and address these issues immediately. Faulty wiring poses a safety risk and can lead to appliance failure.

Stumped with Your Appliance Breakdown? Help is on the Way!

Regular checks are the key to preventing appliance breakdowns caused by hidden culprits. By investing time in routine maintenance, homeowners can extend the lifespan of their appliances, improve efficiency, and avoid the inconvenience and expense of appliance repair.

Incorporating these checks into a regular maintenance routine ensures the smooth functioning of household appliances. It contributes to a safer and more comfortable living environment. However, they may sometimes need a professional touch to return to normal.

If your appliance breaks down, contact Charlotte, NC’s best technician, A-Tech Repair, for the most expert assistance.

Quick Fixes for Common Refrigerator Issues Every Homeowner Should Know

A man in blue overalls is fixing the refrigerator.

The refrigerator is essential in every home, preserving food and maintaining a healthy lifestyle. However, common refrigerator issues can be encountered that may disrupt their functionality like any other household device.

 This article will explore quick refrigerator repair fixes for common refrigerator problems that every homeowner should know.

6 Common Refrigerator Issues and How to Quick Fix Them

Find the most common refrigerator issues every homeowner should know and how to apply a quick fix.

  1.     Warm Interior

One of the most distressing issues is finding that the interior of your refrigerator is not as cool as it should be. This can lead to spoiled food and potential health hazards. A quick fix for this problem is to check the temperature settings.

Ensure that the thermostat is set to the recommended temperature, usually around 37°F (3°C) for the refrigerator and 0°F (-18°C) for the freezer. If the issue persists, inspect the door gaskets for gaps or damage, as a faulty seal can allow warm air to enter. Replacing damaged gaskets is a simple and effective solution.

  1.     Excessive Frost Buildup

Excessive frost in the freezer can reduce efficiency and increase energy consumption. To address this issue, check the door seal for any gaps or tears.

If the seal is intact, it’s time to examine the defrost system. A malfunctioning defrost heater, thermostat, or timer could be the culprit. Replace any faulty components to restore proper functionality and eliminate excessive frost buildup.

  1.     Water Leaks

Discovering water puddles around or inside your refrigerator can be alarming. A common cause of water leaks is a blocked defrost drain.

Clearing the drain of debris and buildup can often resolve this issue. Also, check the water supply line and the connections to the ice maker and water dispenser for leaks. Tighten loose connections or replace damaged parts to prevent further leakage. 

  1.     Unusual Noises

Strange noises emanating from your refrigerator can be a cause for concern. If you hear a loud humming sound, it might be due to a malfunctioning condenser fan. Ensure the fan is free of any obstructions and replace it if necessary.

Rattling or vibrating noises could indicate an issue with the condenser coils. Cleaning the coils and ensuring they are dust-free can often eliminate these noises.

  1.     Constantly Running Motor

If your refrigerator’s motor runs continuously, it could indicate a dirty or dusty condenser coil. The condenser coil dissipates heat from the fridge. When it’s covered in dust, the motor works harder to maintain the desired temperature.

Regularly clean the coils to enhance the refrigerator’s efficiency and reduce energy consumption.

  1.     Ice Maker Malfunctions

Issues with the ice maker are common in refrigerators. If your ice maker is not producing ice or is dispensing it irregularly, check the water inlet valve for any blockages.

A clogged valve can hinder the flow of water, affecting ice production. Additionally, inspect the water filter and replace it if necessary. Regularly changing the water filter ensures clean and efficient ice production.

A person is working on the inside of an appliance.

Does Your Fridge Need More Than a Quick Fix?

Understanding how to address common refrigerator issues with the advice provided by A-tech repair, can save homeowners time and money. By performing simple checks and quick fixes, you can extend the lifespan of your refrigerator, maintain its efficiency, and keep your food fresh.

Regular maintenance is the key to preventing significant malfunctions and ensuring that your refrigerator remains a reliable appliance in your household. But if you think your refrigerator needs more than a quick fix, contact A-Tech Repair.