Why Your Electric Stove Burner Isn’t Working and How to Fix It

Why is your electric stove burner not working?

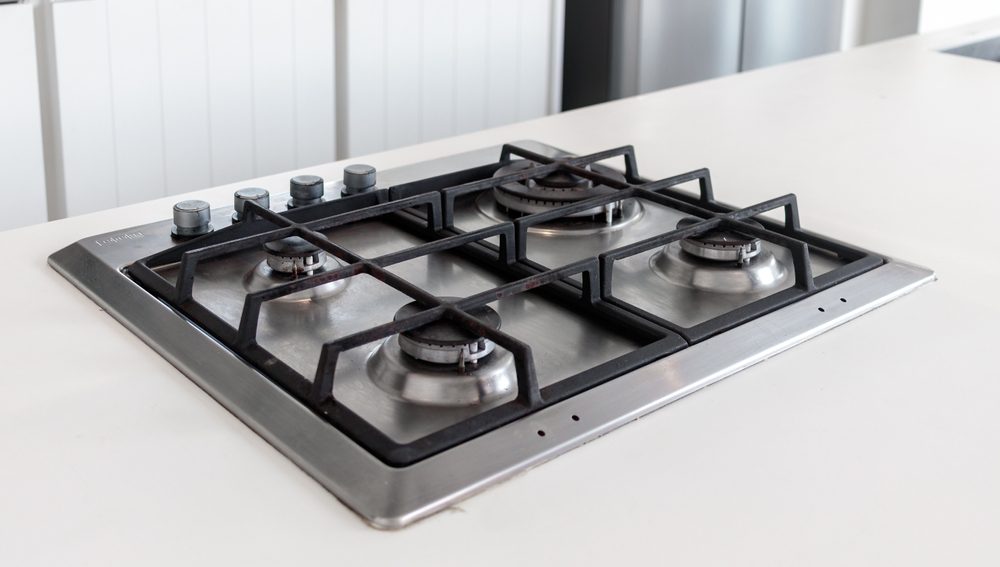
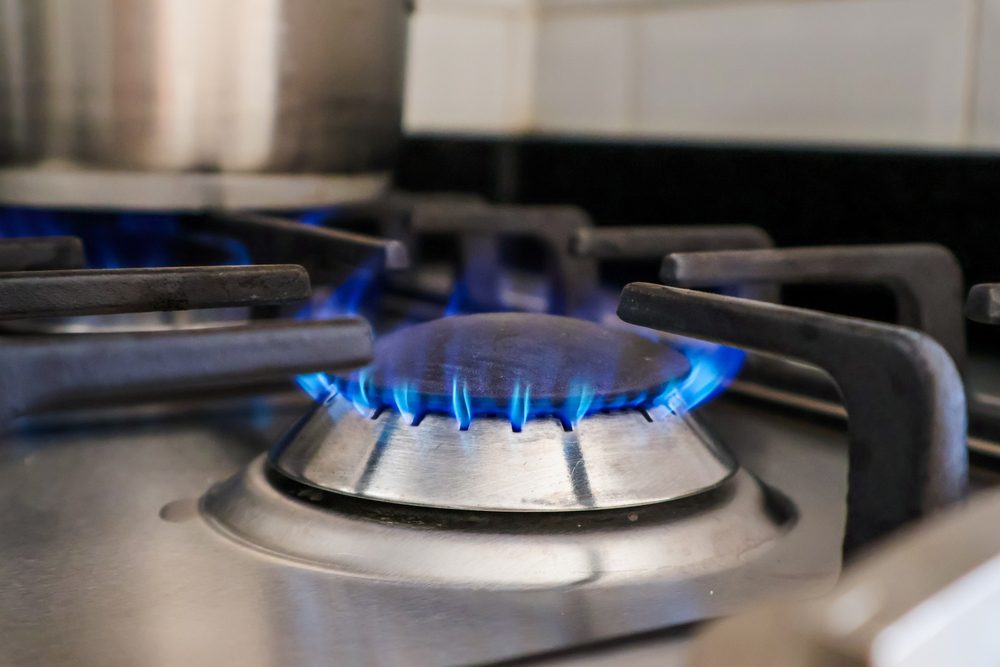
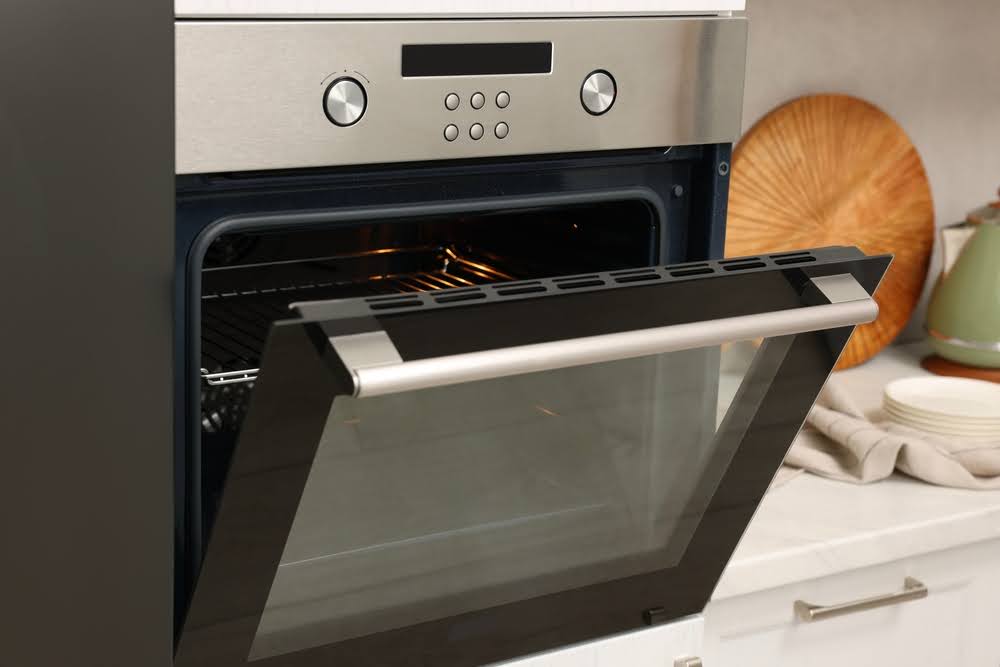
An electric stove is a reliable kitchen appliance, but like any device, it can face issues over time. Suppose you’ve encountered a situation where your electric stove burner is not working. In that case, it can be both frustrating and inconvenient, especially when you’re in the middle of preparing a meal.

Fortunately, many common problems that prevent your burner from functioning can be identified and fixed relatively easily.

Common Causes for Electric Stove Burner Not Working

Below, we’ll explore some reasons why your electric stove burner isn’t working and what you can do to fix it.
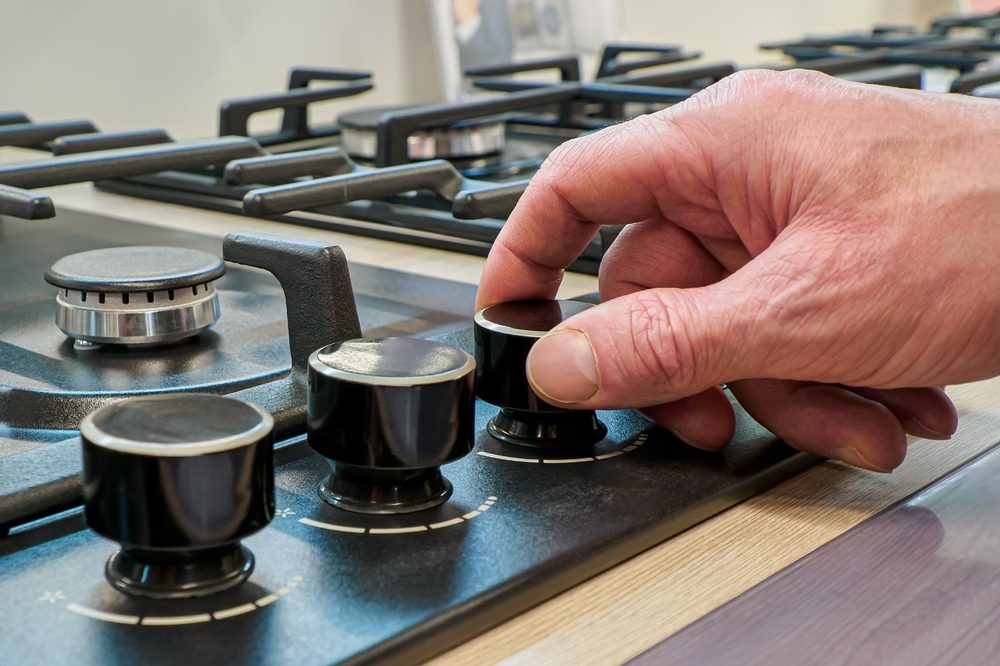
  1.     Burner Coil Issues

An issue with the burner coil is one of the most common reasons an electric stove burner does not work. The coil, which is responsible for heating, can become damaged or disconnected.

Over time, the coil can wear out, or its connection to the stove may loosen. If the coil appears warped or discolored or is not sitting correctly in its socket, it likely needs replacement.

  1.     Faulty Burner Socket

Even if your burner coil appears fine, the problem might lie in the burner socket where the coil plugs in. If the socket has burn marks, rust, or any other signs of damage, it might not be conducting electricity properly.

You can test this by swapping the faulty burner with another working burner. If the new burner also doesn’t heat up, the issue likely resides in the socket, which may need replacement.

  1.     Loose or Damaged Wiring

Sometimes, the problem with your electric stove burner not working can be traced back to loose or damaged wiring beneath the stovetop. Over time, wires can fray or become dislodged, causing a lack of electrical connection.

To check this, lift the stovetop and inspect the wiring connecting the burner to the control switch. If you notice any damage or looseness, replace the wires or reattach them securely.

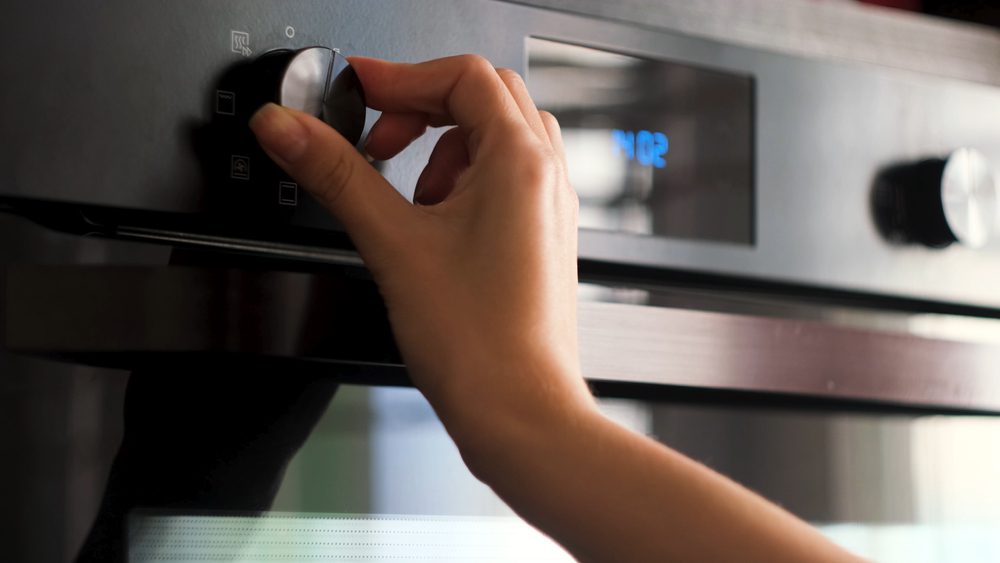
  1.     Malfunctioning Switch

The control switch regulates the power supplied to the burner. If this switch is defective, it could cause the burner to remain cold even when turned on.

You can test this by switching the suspected faulty burner to another control switch on your stove. If the burner works on a different switch, you’ll know the problem lies with the original control switch.

  1.     Blown Fuse or Tripped Breaker

In some cases, the electric stove burner not working could be a symptom of a more significant electrical issue, such as a blown fuse or a tripped circuit breaker. Before inspecting the stove itself, ensure that your home’s electrical panel isn’t the source of the problem.

Reset the breaker or replace any blown fuses as necessary.

Discover why is your electric stove burner not working.

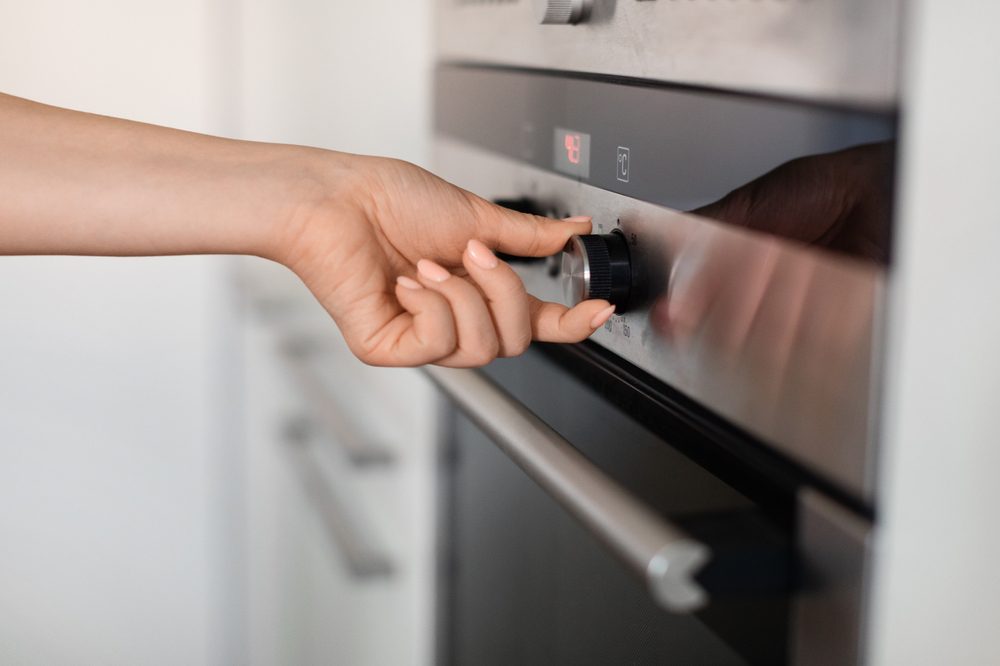
How to Fix Your Electric Stove Burner

Once you’ve identified the cause of the problem, fixing it can be straightforward. For a damaged burner coil, purchase a replacement burner specific to your stove model and plug it into the socket.

If the issue is with the burner socket or control switch, replacement parts can be found at most appliance stores. However, handling wiring issues should be done cautiously.

Contacting a professional is best for stove repair if you’re uncomfortable working with electrical components.

Electric Stove Burner Not Working: Still Having Trouble?

If you’ve gone through the troubleshooting steps and your electric stove burner is still not working, it may be time to call in a professional. A-Tech Repair is always available to assist with any stove-related issues, offering expert advice and repair services to get your appliance back in top working condition.

Contact us today if you need professional help with any kind of stove malfunction!

How to Turn On a Stove: Simple Steps for Gas and Electric Models

How to turn on a stove?

Learning how to turn on a stove is essential in any kitchen. Whether using a gas or electric model, understanding how to operate your stove properly ensures safe and efficient cooking.

While both types of stoves serve the same purpose, they have different mechanisms for generating heat. In this guide, we’ll walk you through the simple steps on how to turn on a stove, gas, or electric ones so you can confidently start cooking without a hitch.

How to Turn On a Stove: Gas

Gas stoves are famous for their instant heat and precise control. However, turning them on is slightly different from electric stoves due to the use of gas burners. Follow these steps to turn on your gas stove safely:

  1.     Check the Burner Area

Before you turn on the stove, ensure the burner area is clear of any flammable objects, such as towels or packaging. Gas stoves use an open flame, so guaranteeing the cooking area is safe is essential.

  1.     Turn the Knob

Each burner on your gas stove has a control knob. To light a burner, turn the knob to the “light” or “ignite” setting. Most stoves have a click or ignition sound, indicating that the gas is flowing and the igniter is sparking.

  1.     Ignite the Flame

If your stove has an automatic igniter, the burner will light by itself once the knob is turned to the ignition position. However, if you have an older model, you may need to light the burner manually using a match or lighter. Hold the flame near the burner as you turn the knob, and once the flame ignites, adjust the heat level as needed.

  1.     Adjust the Flame

Once the burner is lit, you can adjust the size of the flame by turning the knob further. The high setting produces a larger flame, ideal for boiling water, while the low setting is perfect for simmering.

Learn how to turn on a stove.

How to Turn On a Stove: Electric

Electric stoves are known for their ease of use. They do not involve open flames.

Instead, they use electric coils or smooth, flat heating elements to cook food. Here’s how to turn on a stove if you have an electric model:

  1.     Choose the Correct Burner

Look at the stove’s control panel, which typically includes knobs corresponding to each burner. Each burner is often labeled to match the knob controlling it. Ensure you’re selecting the right burner for your pot or pan.

  1.     Turn the Knob to the Desired Setting

Electric stoves use simple knobs to control the heat settings. Turn the knob of the corresponding burner to the desired heat level, such as “low,” “medium,” or “high.” The burner will begin to heat up, and the heating element will glow red once fully heated.

  1.     Wait for the Burner to Heat Up

Unlike gas stoves, electric burners take a bit longer to heat up. Please wait a moment or two until the burner is hot before placing your cookware on it. You’ll know the burner is ready when it glows red for coil burners or becomes hot for smooth-top stoves.

  1.     Adjust Heat as Necessary

As with a gas stove, you can adjust the heat at any time by turning the knob to increase or decrease the temperature. Electric burners retain heat for a little while after being turned off, so be careful when removing cookware.

Get Help with Your Electric or Gas Stove

Whether you’re learning to turn on a stove for the first time or dealing with a malfunction, ensuring your stove works appropriately is essential. If you encounter any gas or electric stove issues, A-Tech Repair is on standby to help.

Contact us today if you need professional help with any kind of stove malfunction!

Top Reasons Your Ice Maker Isn’t Working and How to Fix Them

Is your ice maker not working?

 An ice maker is a convenient feature in modern refrigerators. Still, it can be a significant inconvenience when it stops working. If you’re facing an issue with your ice maker not working, you’re not alone. 

Common Reasons for Ice Maker Malfunctions

There are several common reasons why an ice maker might fail, and understanding these can help you troubleshoot and fix the problem and when to get an ice maker repair service. Here are the top reasons your ice maker isn’t working and how to fix them.

  1.     Water Supply Issues

A frequent cause of an ice maker not working is an issue with the water supply. If the water line is blocked or kinked, the ice maker can’t get the water it needs to make ice.

Solution: Check the water line for any obstructions or kinks. Ensure the water valve is fully open and has adequate water pressure. If the water line appears damaged, you might need to replace it.

  1.     Faulty Water Inlet Valve

The water inlet valve controls the flow of water into the ice maker. If this valve is defective or clogged, it can prevent water from reaching the ice maker.

Solution: Inspect the water inlet valve for any signs of damage or debris. Replacing the valve is usually the best option if the valve is not functioning correctly.

  1.     Clogged Water Filter

A clogged or dirty water filter can restrict water flow to the ice maker, causing it to stop working.

Solution: Replace the water filter as per the manufacturer’s instructions. Typically, water filters must be replaced every six months, which can vary depending on usage and water quality.

  1.     Ice Maker Switch Turned Off

Some ice makers have a switch or lever that must function in the “on” position. If this switch is accidentally turned off, the ice maker will not produce ice.

Solution: Locate the ice maker switch and ensure it is turned on. If you’re unsure where the switch is located, refer to your refrigerator’s user manual.

  1.     Temperature Issues

The ice maker may not produce ice efficiently if the freezer temperature is too high. The ideal temperature for ice production is between 0 and 5 degrees Fahrenheit.

Solution: Check and adjust the freezer temperature settings. Ensure the temperature is set correctly and wait 24 hours to see if ice production resumes.

  1.     Defective Ice Maker Assembly

Sometimes, the ice maker itself can be a problem. Internal components, such as the motor or the control module, can wear out or break over time.

Solution: Inspect the ice maker assembly for any visible damage. If parts appear broken or worn out, consider replacing the entire assembly, as this can often be more cost-effective than replacing individual components.

  1.     Door Seal Problems

A faulty door seal can cause the freezer to lose cold air, making it difficult for the ice maker to produce ice.

Solution: Inspect the door seal for signs of wear or damage. If it is not creating a proper seal, it must be replaced to ensure the freezer maintains the correct temperature.

Learn why is your ice maker not working.

Professional Help for an Ice Maker Not Working

Dealing with an ice maker that doesn’t work can be frustrating. Still, by understanding these common issues and their solutions, you can often resolve the problem yourself. However, some issues may require professional assistance to diagnose and repair effectively.

If your ice maker faces persistent issues, contact A-Tech Repair for expert help. They provide reliable service to get your ice maker back in working order quickly and efficiently.

If you have any questions about HVAC systems or queries about installations or repairs, contact A-Tech Appliance Repair, who will gladly assist.

How to Light a Gas Stove: Safety Tips and Techniques

How to light a gas stove?

Lighting a gas stove may seem straightforward, but safely doing it is essential to prevent accidents. Whether using a stove with automatic ignition or a manual one, understanding how to light a gas stove correctly will help ensure your kitchen stays safe and functional.

This guide will walk you through the steps and safety tips you should follow when using your gas stove, including tips on when you need a stove gas repair service.

Steps to Light a Gas Stove with Automatic Ignition

Modern gas stoves often come equipped with an automatic ignition system. Here’s a quick step-by-step guide on how to light a gas stove with this feature:

  1. Turn the burner knob: Begin by turning the knob of the burner you wish to use. You will hear a clicking sound as the stove generates a spark to ignite the gas.
  2. Wait for the flame: You should see the burner light up within seconds. Once lit, adjust the flame to your desired level by turning the knob further.
  3. Troubleshoot if necessary: If the burner doesn’t light after a few seconds, turn the knob off, wait for the gas to dissipate, and try again. Never leave the gas on without ignition, which can cause a dangerous gas build-up.

Steps to Light a Gas Stove Manually

Older stoves or some models may require manual lighting. Here’s how to light a gas stove that doesn’t have automatic ignition:

  1. Turn the burner knob slightly: Start by turning the knob just enough to release the gas but not fully opening it yet.
  2. Use a match or lighter: Hold a lit match or gas lighter near the burner with one hand. To avoid injury, do not place your face and body directly over the stove.
  3. Turn the knob entirely: Once the flame is near the burner, turn the knob to release more gas. The flame should catch quickly and light the burner.
  4. Adjust the flame: Once the burner is lit, adjust the knob to control the flame’s intensity. If the burner doesn’t light after a few attempts, turn off the gas, wait for the air to clear, and try again.
Learn how to light a gas stove.

Important Safety Tips

When learning to light a gas stove, keeping safety in mind is crucial. Gas stoves are highly efficient but can be hazardous if not used properly. Here are some essential safety tips to follow:

  • Check for gas leaks: Before lighting your stove, ensure there are no gas smells. If you detect a strong odor, turn off all burners and ventilate the area immediately.
  • Use a proper lighter or match: Always use long, safety-approved lighters or matches designed explicitly for gas stoves.
  • Keep flammable objects away: Ensure that paper towels, plastic containers, or other flammable objects are away from the stove while it’s in use.
  • Regular maintenance: Periodically check the stove’s components, such as the burners and knobs, for signs of wear or malfunction.

What to Do If the Flame Goes Out

If the burner’s flame goes out while cooking, turn off the gas immediately and wait a minute or two for the gas to dissipate before attempting to relight the stove. Igniting the stove too soon after a flame goes out can result in a flare-up or dangerous gas accumulation.

When to Call a Professional

If you experience ongoing issues lighting your gas stove or suspect a gas leak, it’s best to consult a professional. A-Tech Repair is your go-to resource for gas stove installation, repairs, and safety advice.

Their expert technicians can diagnose problems, install new units, and ensure your stove operates safely and efficiently. Never hesitate to call a professional when dealing with gas appliances, as safety should always come first.

If you have any questions about HVAC systems or queries about installations or repairs, contact A-Tech Appliance Repair, who will gladly assist.

Fridge Not Making Ice? Common Issues and Solutions

Why is your fridge not making ice?

Having a fridge that doesn’t make ice can be frustrating, especially during hot weather or when hosting gatherings. Several common issues could be the culprit if your fridge is not making ice.

Fridge Not Making Ice: 7 Common Issues

The below will help you identify these problems and offer solutions to get your ice maker back in working order and when to get a refrigerator repair service.

  1.     Water Supply Problems

One of the most common reasons a fridge does not make ice is an issue with the water supply. If the water supply is blocked or restricted, the ice maker can’t get the water it needs to produce ice.

Solution: Check the water line for any kinks or blockages. Ensure the water valve is fully open and the water pressure is sufficient. If the water line is damaged, it may need to be replaced.

  1.     Faulty Water Inlet Valve

The water inlet valve controls the flow of water into the ice maker. If this valve is defective or clogged, it can prevent water from reaching the ice maker.

Solution: Inspect the water inlet valve for any signs of damage or debris. If the valve is malfunctioning, it will need to be replaced. This is typically a job best handled by a professional.

  1.     Clogged or Dirty Water Filter

A clogged or dirty water filter can restrict water flow to the ice maker, resulting in a fridge that does not make ice.

Solution: Replace the water filter according to the manufacturer’s instructions. Most filters must be changed every six months, which can vary depending on your fridge model and water quality.

  1.     Ice Maker Assembly Issues

Sometimes, the ice maker itself can be a problem. Components within the ice maker assembly, such as the motor or the control module, can wear out or break over time.

Solution: Inspect the ice maker assembly for any visible damage. If parts appear broken or worn out, consider replacing the entire assembly. This can often be more cost-effective than replacing individual components.

  1.     Temperature Settings

The ice maker may not produce ice efficiently if the freezer temperature is too high. The ideal temperature for ice production is between 0 and 5 degrees Fahrenheit.

Solution: Check and adjust the freezer temperature settings. Ensure the temperature is set correctly and wait 24 hours to see if ice production resumes.

  1.     Door Seal Problems

A faulty door seal can cause the freezer to lose cold air, making it difficult for the ice maker to produce ice.

Solution: Inspect the door seal for signs of wear or damage. If it is not creating a proper seal, it must be replaced to ensure the freezer maintains the correct temperature.

  1.     Ice Maker Switch

Some refrigerators have a switch or lever that turns the ice maker on and off. If this switch is accidentally turned off, your fridge may not make ice.

Solution: Locate the ice maker switch and ensure it is in the “on” position. If you’re unsure where the switch is located, refer to your fridge’s user manual.

Is your fridge not making ice?

What If I Still Can’t Fix My Fridge’s Ice Maker?

If you’ve tried all these solutions and still haven’t gotten your fridge to make ice, it might be time to call a professional. Identifying and resolving more complex issues can require expertise and the right tools.

For residents of Charlotte, NC, A-Tech Repair is the go-to solution for fridges that don’t make ice. Their experienced technicians can diagnose and fix the problem quickly, ensuring a steady supply of ice again.

If you have any questions about HVAC systems or queries about installations or repairs, contact A-Tech Appliance Repair, who will gladly assist.

Gas or Electric Range? Exploring the Differences, Pros & Cons

Gas or electric range.

Choosing between a gas and an electric range for your kitchen significantly impacts your cooking experience, utility bills, and overall kitchen functionality. Both options have unique advantages and disadvantages, which can influence your choice based on your specific needs and preferences.

Let’s explore whether you should get gas or electric range and their pros and cons.

Gas Ranges

Here are the pros of gas ranges.

Pros

  • Instant Heat and Temperature Control – Gas ranges provide immediate heat, making it easier to start cooking without waiting for the burner to heat up. The flame is visible and easily adjustable, offering precise temperature control, which is ideal for cooking techniques requiring quick heat level changes. The differences between gas and electric ranges, as well as their pros. It is perfect for cooking techniques requiring quick heat level changes, the differences between gas and electric ranges, and
  • Even Cooking – A gas burner’s direct flame ensures even heat distribution, which is beneficial for tasks such as simmering sauces or searing meat.
  • Operational During Power Outages – Gas ranges can operate during power outages, provided you can ignite the burner manually, making them reliable during emergencies.
  • Lower Operational Costs – Natural gas is generally cheaper than electricity, leading to lower operational costs.

Cons

And now, for the cons.

  • Installation Requirements – Installing a gas range requires a gas line, which can be expensive if it is not already present. Additionally, proper ventilation is necessary to avoid gas leaks and ensure safety.
  • Safety Concerns – Gas leaks can be hazardous, posing risks of fire or explosion. Carbon monoxide buildup is another potential issue if the range is improperly ventilated.
  • Cleaning Challenges – Gas ranges often have grates and burners that can be cumbersome, requiring more effort than flat electric cooktops.

Electric Ranges

Let’s move on to the advantages of electric ranges.

Pros

  • Ease of Use and Cleaning – Electric ranges, especially those with smooth ceramic or glass tops, are easier to clean. Spills and splatters can be wiped off quickly, and the absence of grates simplifies maintenance.
  • Even Oven Heating – Electric ovens typically provide more consistent oven temperatures, making them superior for baking and roasting, where even heat distribution is crucial.
  • Modern Features – Many electric ranges have advanced features, such as induction cooking, self-cleaning options, and digital temperature settings, that enhance the cooking experience.
  • Safety – Electric ranges eliminate the risk of gas leaks, making them safer for households concerned about gas safety.

Cons

  • Slower Heat Response – Electric burners take longer to heat up and cool down than gas burners, which can disadvantage recipes requiring quick temperature changes.
  • Higher Operational Costs – Electricity tends to be more expensive than natural gas, potentially leading to higher utility bills over time.
  • Power Dependency – Electric ranges depend entirely on electricity, rendering them useless during power outages.
Choose between gas or electric range.

Let the Experts Install Your Next Range

Ultimately, the best range for your kitchen depends on your individual needs. Weighing the pros and cons of each type will help you make an informed decision that enhances your cooking experience and fits your lifestyle. 

Whether you opt for gas or electric, both types of ranges have the potential to transform your kitchen into a more functional and enjoyable space. A-Tech Repair has the knowledge and expertise to install and repair your range, whichever you choose.

If you have any questions about HVAC systems or queries about installations or repairs, contact A-Tech Appliance Repair, who will gladly assist.

Breaking the Ice: Unveiling the Culprits and Solutions When Your Ice Maker Keeps Freezing Up

Ice maker freezing up.

An ice maker is a convenient appliance that many households rely on for a steady supply of ice. However, when your ice maker keeps freezing up, it can become a frustrating and recurring issue. 

Understanding the common causes of this problem and how to address them can help you maintain a functional and efficient ice maker. Here’s a look at the typical culprits behind ice maker freeze-ups and practical solutions to keep your ice maker running smoothly, before calling a professional for an ice maker repair service.

Why is the ice maker freezing up?

Common Causes of Ice Maker Freeze-Ups

Here’s what might lead to your ice maker freezing up:

  1.     Improper Temperature Settings

One of the most common reasons an ice maker freezes is improper temperature settings. If the freezer temperature is too low, the ice maker can overproduce ice, leading to blockages and freezing. 

The ideal freezer temperature should be around 0°F (-18°C) to ensure optimal ice production without causing freeze-ups.

  1.     Faulty Thermostat

A malfunctioning thermostat can lead to incorrect temperature regulation within the ice maker. Suppose the thermostat is not accurately sensing the temperature. In that case, it may cause the ice maker to produce too much ice or not stop producing ice when the bin is full, resulting in freezing issues.

  1.     Water Supply Line Problems

The water supply line is crucial for ice production. If it becomes clogged or frozen, it can restrict water flow, leading to incomplete ice cubes and freezing of the ice maker components. 

Kinks or leaks in the water line can also cause similar problems.

  1.     Dirty or Clogged Water Filter

A dirty or clogged water filter can impede water flow to the ice maker, causing it to freeze. According to the manufacturer’s recommendations, the water filter should be replaced regularly to prevent this issue.

  1.     Defective Ice Maker Components

Various components of the ice maker, such as the ice mold thermostat, water inlet valve, or the motor, can become defective over time. When these components fail, they can cause the ice maker to freeze up or stop working altogether.

Solutions to Prevent Ice Maker Freeze-Ups

So, how do you solve the problem? Here are some answers:

  1.     Adjust Temperature Settings

Ensure your freezer temperature is set to the manufacturer’s recommended level, usually around 0°F (-18°C). Avoid setting the temperature too low, as this can lead to overproduction of ice and subsequent freeze-ups.

  1.     Inspect and Replace Faulty Parts

Regularly inspect the thermostat, water inlet valve, and other ice maker components for any signs of wear or malfunction. Replacing faulty parts can prevent freeze-ups and keep your ice maker functioning efficiently.

  1.     Maintain the Water Supply Line

Check the water supply line for any clogs, kinks, or leaks. If you find any issues, clean or replace the water line as needed to ensure a steady water flow to the ice maker.

  1.     Replace the Water Filter

Replace the water filter at the recommended intervals to maintain proper water flow and prevent clogs. A clean water filter ensures your ice maker receives a consistent water supply.

  1.     Regular Maintenance

Perform regular maintenance on your ice maker, including cleaning the ice bin, checking for ice buildup, and inspecting all components for wear or damage.

Is Your Ice Maker Still Having Problems?

Preventing your ice maker from freezing up involves proper maintenance, timely replacement of faulty parts, and ensuring the correct temperature settings. By understanding the common causes and solutions, you can keep your ice maker running efficiently and avoid the frustration of frequent freeze-ups.

However, not all ice maker problems can be fixed easily. A-Tech Repair can provide expert service and maintenance to ensure your appliance functions efficiently and is in top condition.

Contact us today!

Cleaning Gas Stove Top Burners: A Complete Guide

Cleaning gas stove top burners.

Gas stoves are a kitchen essential, offering precise heat control for cooking. However, the burners can quickly accumulate grime, grease, and food debris, affecting their efficiency and appearance.

Regular maintenance is critical to ensuring your gas stove works safely and effectively. This complete guide on cleaning gas stove top burners will walk you through the process and provide tips to help keep your stove looking and functioning like new.

Why Cleaning Gas Stove Top Burners Is Important

Cleaning gas stove top burners isn’t just about aesthetics. Burners clogged with debris or grease can cause uneven heating or make it difficult to ignite the flame. Then you would probably need a stove repair service.

If left uncleaned, food and grease buildup can also lead to unpleasant odors, potential fire hazards, and reduced stove efficiency. Maintaining clean burners not only prolongs the life of your stove but also enhances its performance.

Materials Needed for Cleaning Gas Stove Top Burners

Before you begin cleaning gas stove top burners, gather the following items to make the process easier:

  • Mild dish soap
  • Baking soda
  • Vinegar
  • A non-abrasive scrub pad or sponge
  • A toothbrush (or small cleaning brush)
  • A toothpick or needle (for cleaning burner holes)
  • Microfiber cloth
Cleaning gas stove top burners properly.

Step-by-Step Guide to Cleaning Gas Stove Top Burners

Follow this step-by-step guide to clean gas stove top burners efficiently.

  1.     Turn off the gas supply.

Safety first! Before starting, ensure the stove is off, and the burners are completely cool. Also, turn off the gas supply to avoid accidental ignition while cleaning.

  1.     Remove the burner grates.

Start by carefully lifting off the burner grates. Set them aside for cleaning later. These grates can often accumulate grease so they may require soaking.

  1.     Remove burner caps and heads.

Remove the burner caps and heads from the stovetop. They can usually be lifted off easily.

This is the perfect opportunity to clean them thoroughly to loosen any stuck-on debris and grease. Soak the burner caps, heads, and grates in warm water and mild dish soap for 15 to 20 minutes.

  1.     Scrub the burners.

After soaking, use a non-abrasive scrub pad or sponge to clean the burner caps and heads. Mix baking soda and water for stubborn stains and apply a paste to the dirty areas. Scrub gently to avoid damaging any parts.

  1.     Clean burner holes.

Over time, burner holes can become clogged with food or grease, affecting gas flow—carefully clear these holes with a toothpick, needle, or brush.

Be cautious not to enlarge them, as this can affect performance.

  1.     Wipe down the stovetop.

Clean the stove top with warm, soapy water while the burners and grates are soaking. For extra grease-fighting power, spray a solution of equal vinegar and water.

Wipe down the surface with a microfiber cloth to remove any residue.

  1.     Rinse and dry all parts.

Once the burners and grates are clean, rinse them thoroughly with water to remove soap or baking soda. Dry them thoroughly with a cloth before reassembling them on the stove.

  1.     Reassemble the stove

Place the burner caps, heads, and grates back in their positions. Ensure everything is correctly aligned before turning the furnace back on.

Should I Get Professional Help with My Gas Stove Top Burners?

If cleaning gas stove top burners doesn’t resolve issues like uneven heating or frequent flare-ups, it may indicate a more significant problem with the stove’s components. A-Tech Repair is your trusted partner for all things related to gas stoves, from installation to repairs.

Contact us today!

Common Causes of Uneven Baking in Electric Ovens and How to Solve Them

Why is oven cooking unevenly?

Achieving perfectly baked goods can be challenging when your oven is not working as it should. One of the most frustrating issues bakers and cooks encounter is an oven cooking unevenly. 

This can result in undercooked food on one side, overcooked on the other, or even burnt in spots.

Uneven Baking in Electric Oven: How to Solve the Problem 

Suppose you’re experiencing your electric oven cooking unevenly. In that case, it’s essential to identify the underlying cause to ensure your dishes come out perfectly cooked every time. Here are some common causes of uneven baking in electric ovens and how to solve them.

  1.     Inconsistent Heat Distribution

One of the primary reasons an oven cooks unevenly is inconsistent heat distribution. Electric ovens rely on heating elements at the cavity’s top and bottom. If these elements are not functioning correctly, they may not distribute heat evenly throughout the oven.

Solution: Inspect the heating elements when the oven is off and cool. Look for any visible signs of damage, such as blistering, cracks, or discoloration.

  1.     Faulty Thermostat or Temperature Sensor

A faulty thermostat or temperature sensor is another common culprit behind uneven baking in electric ovens. The thermostat regulates the oven’s temperature, while the sensor measures the internal temperature and adjusts the heating elements as needed.

Solution: You can test the oven’s temperature by placing an oven thermometer in the center of the oven. Preheat the oven and compare the thermometer reading to the temperature set on your controls.

  1.     Improper Rack Placement

Sometimes, the issue isn’t with the oven but how you use it. Placing your baking racks can significantly affect how heat circulates your food, leading to uneven baking.

Solution: For most baking tasks, the middle rack is the best position, as it allows for optimal heat circulation. If you’re baking multiple trays of cookies or other items, try rotating them halfway through the cooking time to ensure even baking.

  1.     Blocked or Malfunctioning Oven Fan

Many electric ovens have a convection fan designed to circulate hot air evenly throughout the cavity. If the fan is blocked, malfunctioning, or not operating at the correct speed, it can result in uneven baking.

Solution: Check if the fan is running when the oven is on. If it isn’t, or if it’s making unusual noises, it could be blocked by debris, food particles, or malfunctioning.

  1.     Old or Worn Oven Gasket

The gasket is the rubber seal around the oven door that helps maintain a consistent temperature by keeping heat from escaping. If the gasket is old, worn, or damaged, it can cause hot air to leak out, leading to uneven baking in electric ovens.

Solution: Inspect the gasket for wear or damage, such as cracks or gaps. Replacing a worn gasket is usually a quick and inexpensive fix that can significantly improve your oven’s performance.

How to stop uneven baking in electric oven?

Stop Your Electric Oven Cooking Unevenly

Uneven baking in electric ovens can be frustrating, but troubleshooting can often solve it. Whether the issue lies with the heating elements, thermostat, rack placement, fan, or gasket, identifying the cause is the first step to ensuring your oven cooks evenly.

If you’ve tried these solutions and your oven is still cooking unevenly, it may be time to call the experts. A-Tech Repair specializes in troubleshooting and fixing oven issues, ensuring that your appliance operates at its best and your culinary creations turn out perfectly every time.

If you have any questions about HVAC systems or queries about installations or repairs, contact A-Tech Appliance Repair, who will gladly assist.


How to Troubleshoot an Ice Machine That’s Not Making Ice

Why is ice machine not making ice?

An ice machine is essential for many businesses and homes, especially during the hot summer months or in environments where ice is necessary. However, it can be frustrating when you encounter an issue with your ice machine not making ice.

Why Is My Ice Machine Not Making Ice?

Before you panic or rush to call a professional, there are several steps you can take to troubleshoot the problem. Often, the issue is something simple that can be fixed quickly, saving you time and money.

  1.     Check the Power Supply

The first step in troubleshooting an ice machine that doesn’t make ice is to check the power supply. It’s easy to overlook. Ensure the machine is securely plugged in and the outlet functions correctly. You can test the outlet by plugging in another appliance to see if it works.

If the machine is connected to a switch, make sure that it is turned on. Also, inspect the power cord for any signs of damage that might interrupt the power flow.

  1.     Inspect the Water Supply

An ice machine not making ice could also be due to a disrupted water supply. Check that the water line is connected correctly and that the valve is open.

Sometimes, the water supply line can become kinked or blocked, preventing water from reaching the machine. Ensure the line is straight and clear of obstructions.

  1.     Adjust the Thermostat

The thermostat setting plays a crucial role in ice production. If the thermostat is set too low, the ice machine may not be cold enough to freeze the water into ice.

On the other hand, if it’s set too high, it could cause the machine to overfreeze, potentially leading to blockages. Check the manufacturer’s recommended settings and adjust the thermostat accordingly.

Discover why is ice machine not making ice.
  1.     Examine the Ice Mold

The ice mold could be the culprit if the ice machine is not making ice. Over time, mineral deposits or ice blockages can build up in the mold, preventing the machine from producing ice properly.

Carefully inspect the ice mold for any buildup and clean it if necessary. Use a soft cloth and warm water to remove any debris.

  1.     Defrost the Machine

Sometimes, an ice machine does not make ice due to ice buildup within the unit itself. If you notice excessive frost or ice accumulation, it might be necessary to defrost the machine.

Unplug the machine and allow it to thaw completely. Once defrosted, clean the interior to remove any residual moisture before restarting the machine.

  1.     Check for Mechanical Issues

Sometimes, the problem might be mechanical. The motor, water inlet valve, or other components might malfunction, preventing the ice machine from working correctly.

Suppose you’ve checked the power, water supply, and thermostat, and everything seems fine. In that case, the issue might be with the internal mechanics. For further troubleshooting, consult the user manual or contact a professional repair service.

Still Facing Problems with Your Ice Machine?

When an ice machine does not make ice, following these troubleshooting steps can often help identify and resolve the problem. Checking the power and water supply, adjusting the thermostat, cleaning the ice mold, defrosting the machine, and inspecting for mechanical issues are all essential steps to getting your ice machine back to entire operation.

However, if you’ve tried these troubleshooting tips and your ice machine still isn’t making ice, it may be time to seek professional help. A-Tech Repair specializes in fixing ice machines and can provide expert service to keep your machine running smoothly.

If you have any questions about HVAC systems or queries about installations or repairs, contact A-Tech Appliance Repair, who will gladly assist.